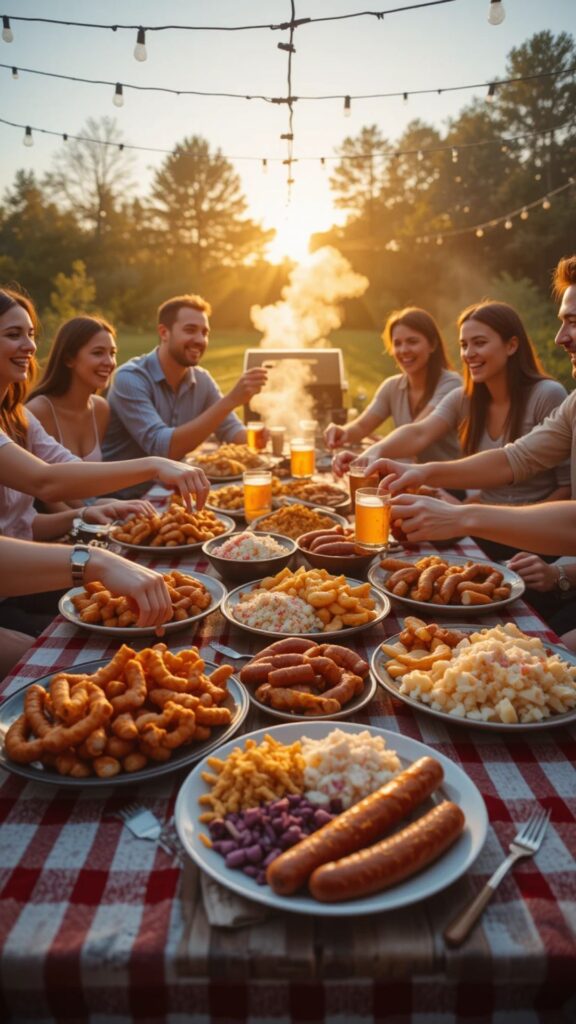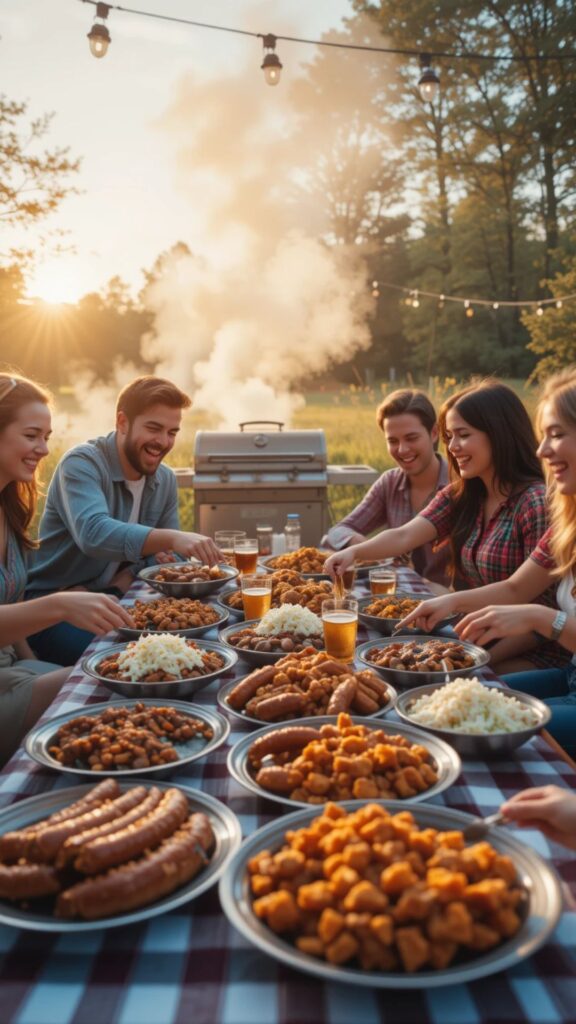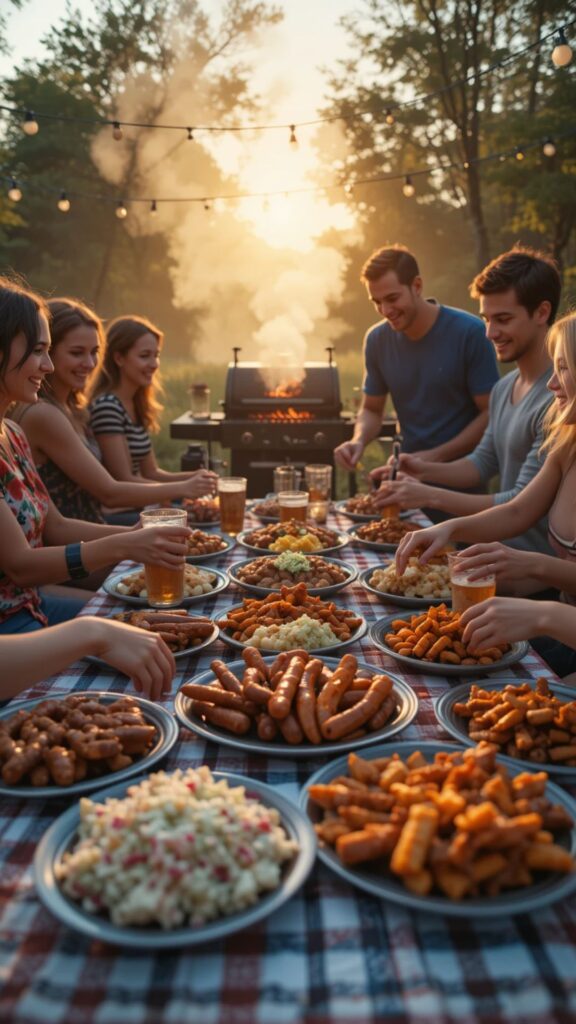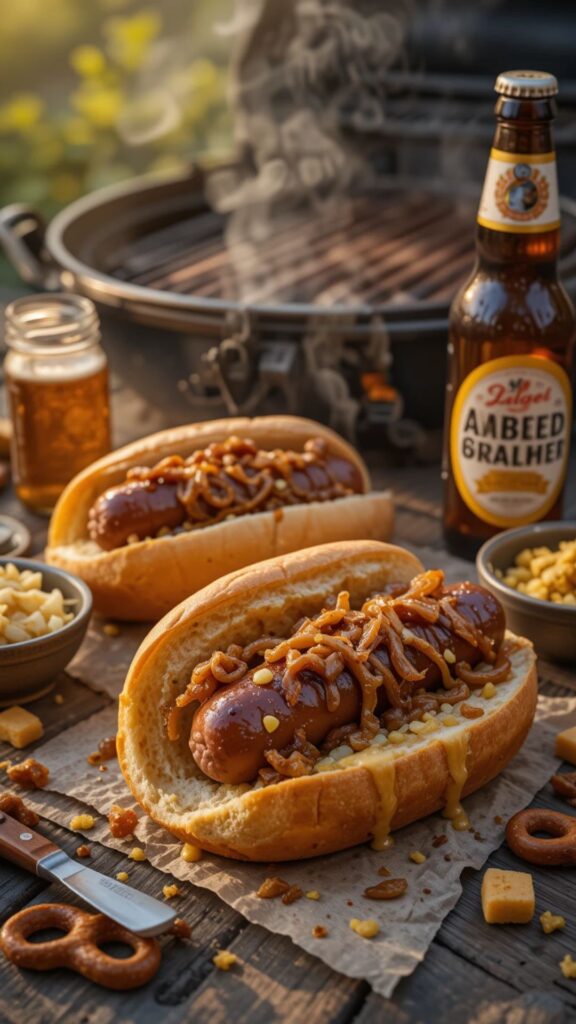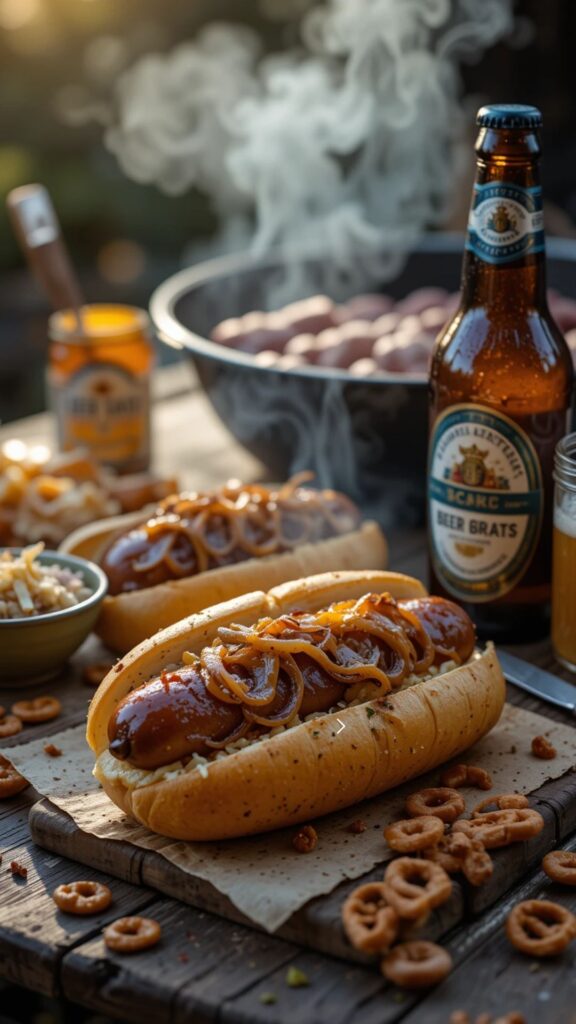
Hey there, grill master (or soon-to-be!), feeling that itch to fire up the grill and dive into something seriously satisfying? You’ve landed in the perfect spot. Forget dry, boring sausages – we’re talking about Beer Brats, the undisputed champion of backyard cookouts and tailgates. Imagine juicy, flavorful bratwurst simmered in a bath of savory beer and onions, then finished on the grill for that irresistible smoky char. The result? Pure magic – tender inside, snappy outside, bursting with savory, malty goodness. Let’s get those brats sizzling!
Why This Recipe Wins Every Time:
- Foolproof Flavor: Simmering in beer infuses the brats deep inside, keeping them incredibly moist and adding layers of malty complexity.
- Double-Duty Deliciousness: The beer-and-onion bath isn’t just for the brats – it becomes an insanely good topping!
- Crowd-Pleaser Supreme: Simple ingredients, big flavor. Everyone loves a good brat.
- Flexible Fun: Works great on any grill (gas, charcoal, pellet) or even your stovetop grill pan.
Grab Your Gear & Groceries (The Shopping List):
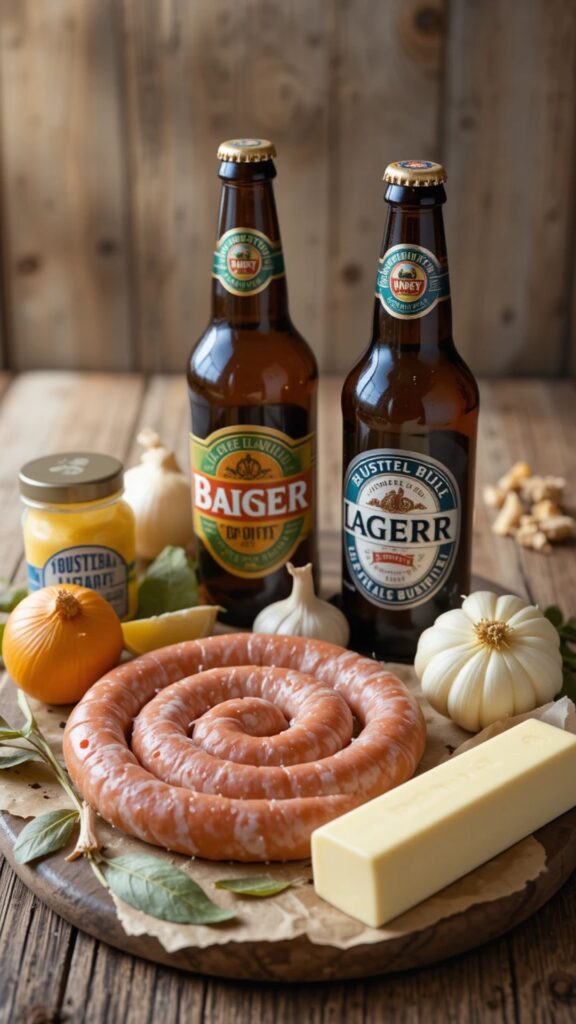
- The Star Players:
- Fresh Bratwurst Sausages: 1.5 to 2 pounds (that’s usually 5-6 standard brats). Look for natural casing for the best snap! Johnsonville is widely available and reliable, but local butcher shops often have amazing options.
- The Flavor-Bomb Beer Bath:
- Beer: 2 bottles (24 oz total) of a medium-bodied lager or pilsner. Think Yuengling, Budweiser, Miller High Life, Pilsner Urquell. Avoid super hoppy IPAs (bitter) or super dark stouts (too heavy). This is where the magic starts!
- Yellow Onions: 2 large, thinly sliced.
- Butter: 4 tablespoons (1/2 stick), unsalted.
- Garlic: 3-4 cloves, minced or pressed.
- Brown Sugar: 1 tablespoon (optional, balances bitterness, adds depth).
- Whole Peppercorns: 1 teaspoon.
- Bay Leaves: 2.
- Chicken or Beef Broth: 1 cup (low-sodium preferred – adds depth without over-salting).
- The Grill Essentials:
- Neutral Oil: 1-2 tablespoons (like vegetable, canola, or avocado oil) for brushing the grill grates.
- Your Favorite Brat Buns: 5-6 hearty brat or sub rolls. Potato rolls are a soft, sweet favorite!
- The Finishing Touches (Choose Your Adventure):
- Stone Ground Mustard: (Classic! Inglehoffer is great)
- Sauerkraut: (Traditional pairing)
- The Simmered Beer Onions: (Don’t you dare skip these!)
- Pickle Relish
- Sliced Pickles
- Ketchup (if you must!)
Prep Like a Pro (Get Everything Ready!):
- Onion Duty: Peel those 2 large onions and slice them thinly. No need for perfect julienne, just consistent half-moons. Set aside.
- Garlic Power: Smash, peel, and finely mince or press your 3-4 garlic cloves.
- Brat Check: Give your brats a quick pat dry with paper towels. This helps them brown better later. Important: Use a fork or sharp knife tip to gently poke 2-3 small holes in each brat before simmering. This prevents them from bursting dramatically later! Don’t go crazy – just tiny vents.
- Gather Your Pots & Pans: You’ll need:
- A large, deep skillet, Dutch oven, or heavy pot (big enough to hold the brats in a single layer with all the liquid).
- Your grill, prepped and ready to go later.
- Tongs, a slotted spoon, and maybe a meat thermometer if you have one (worth it!).
Let’s Get Cooking! (Simmer, Then Sizzle):
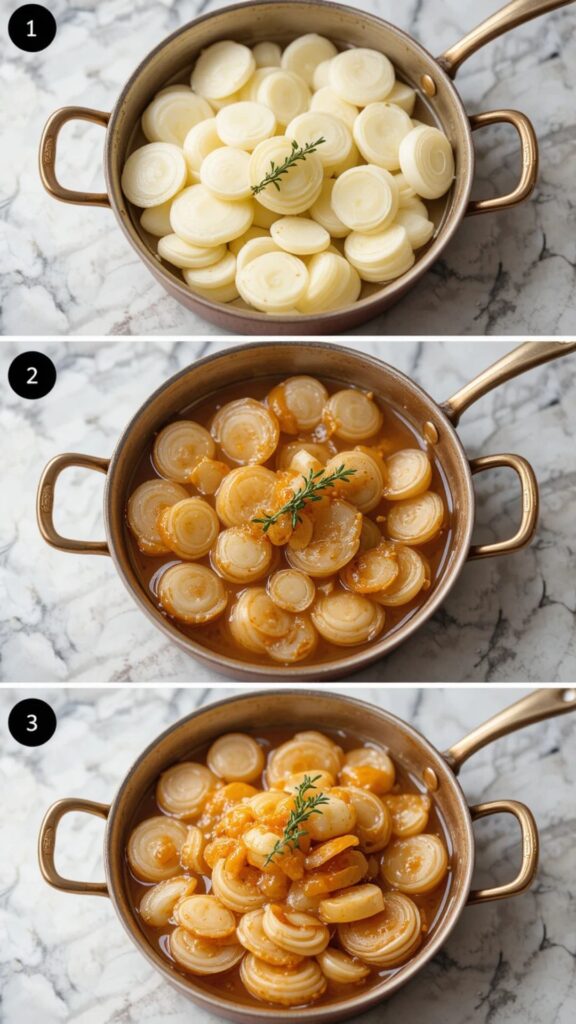
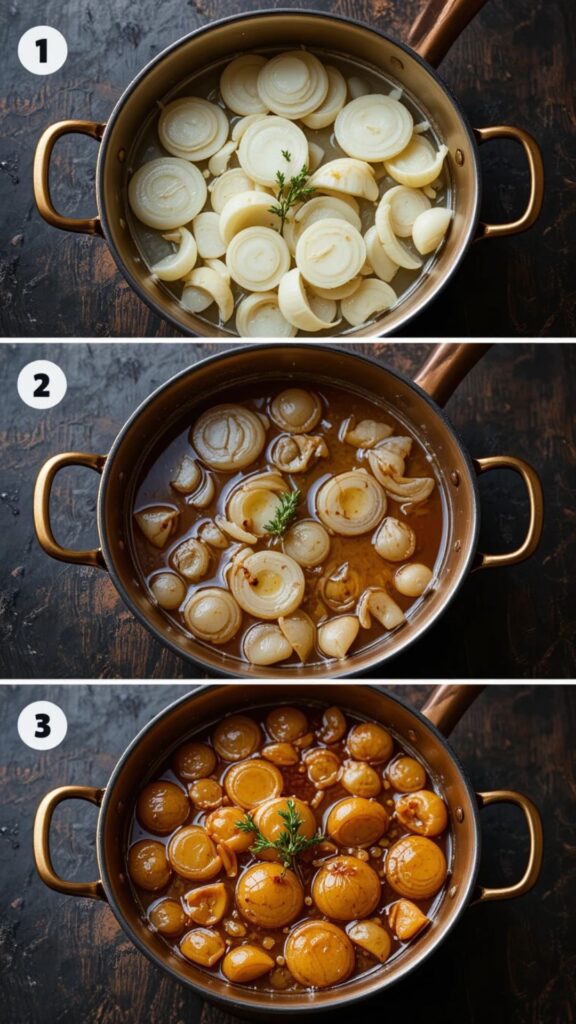
Part 1: The Flavor-Infusing Beer Bath (Simmering)
- Butter & Aromatics: Melt the 4 tablespoons of butter in your large pot/skillet over medium heat.
- Onion Sweat: Add the sliced onions and cook, stirring occasionally, for about 8-10 minutes until they start to soften and become translucent. Don’t let them brown deeply yet.
- Garlic Kiss: Stir in the minced garlic and cook for just 1 minute until fragrant. Don’t let it burn!
- Bring on the Brew! Carefully pour in the 2 bottles (24 oz) of beer. Add the 1 cup of broth, 1 tablespoon brown sugar (if using), 1 teaspoon peppercorns, and 2 bay leaves.
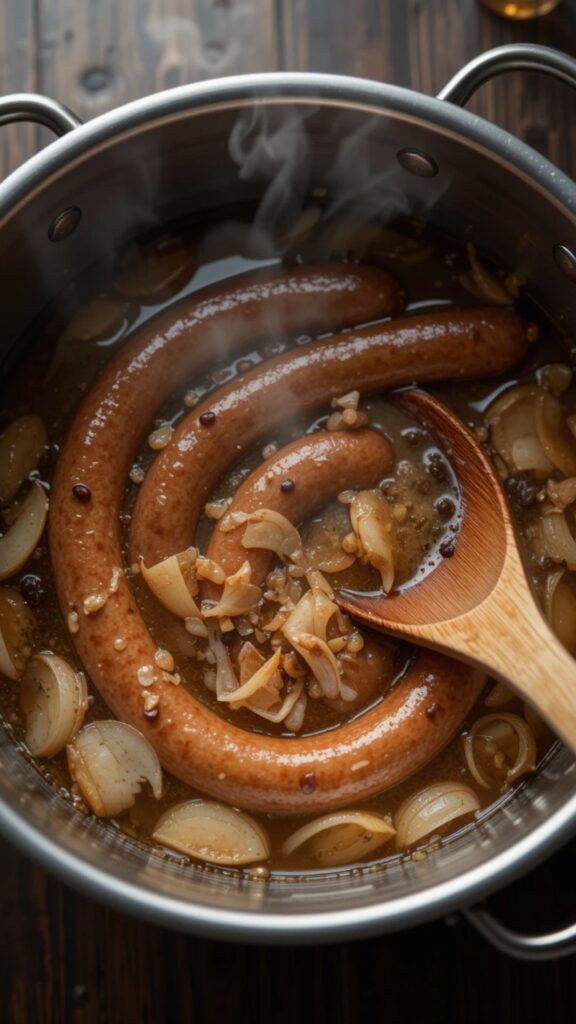
- Brat Submersion: Gently place the pre-poked brats into the pot. The liquid should almost cover them. If it doesn’t, add a little more broth or water.
- Gentle Simmer: Bring the mixture just to a simmer (small bubbles breaking the surface, NOT a rolling boil). Reduce the heat to low to maintain this gentle simmer.
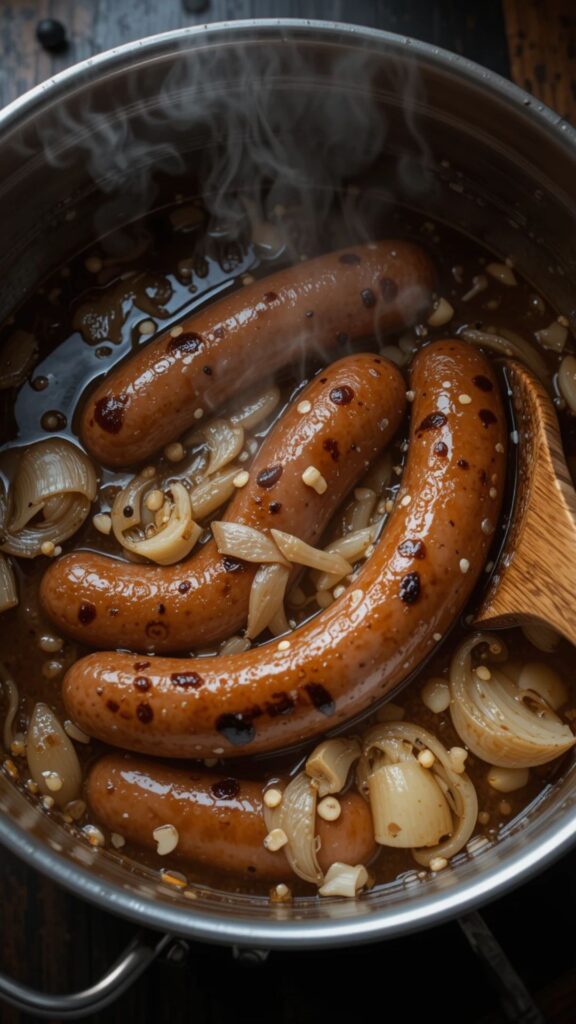
- Infuse the Goodness: Let the brats simmer gently, uncovered, for 15-20 minutes. You’ll see them plump up and turn a paler grayish color inside. They won’t be fully cooked through yet – that’s perfect! Resist the urge to boil! Boiling makes brats tough.
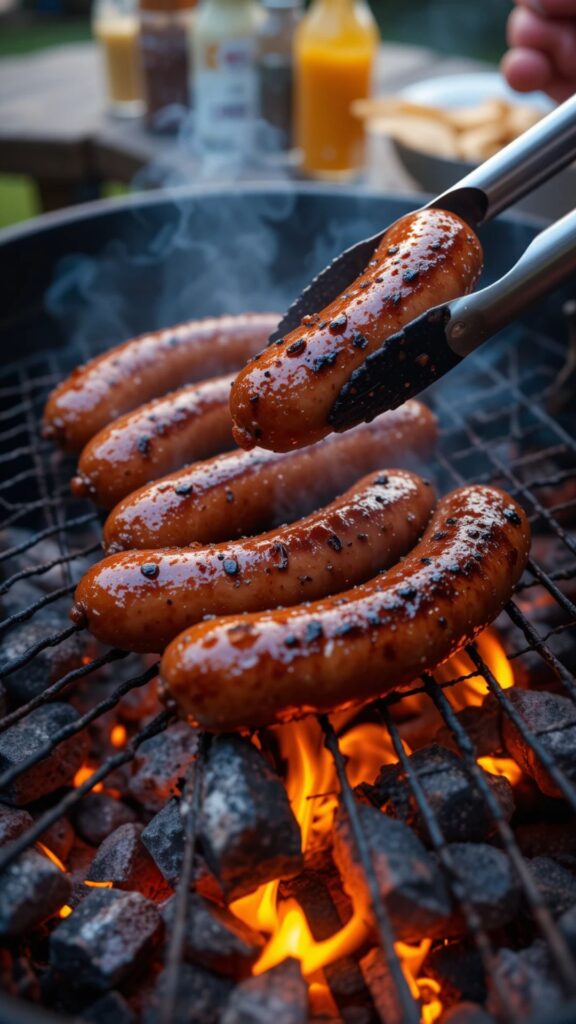
Part 2: The Grand Grill Finale (Charring)
- Prep the Grill: While brats simmer, preheat your grill to medium-high heat (around 375-400°F). Clean the grates well and oil them generously using tongs and an oil-soaked paper towel to prevent sticking.
- Brat Transfer: Carefully remove the brats from the beer bath using tongs. Let any excess liquid drip off. KEEP THE BEER ONION MIXTURE SIMMERING!
- Grill Time! Place the brats directly on the preheated, oiled grill grates.
- Get That Char: Grill the brats for 8-12 minutes total, turning them frequently with tongs. You want beautiful, deep golden-brown grill marks on all sides and the internal temperature to reach 160°F when checked with an instant-read thermometer. (This is the most reliable way!) If you don’t have a thermometer, they should feel firm to the touch, and juices should run clear. Avoid pressing down on them – you’ll squeeze out all that precious juiciness!
- Reduce the Onions: While the brats grill, turn the heat up under your beer/onion pot to medium-high. Let it bubble away, stirring occasionally, for about 10-15 minutes until the liquid reduces significantly and the onions become super soft, caramelized, and intensely flavorful. This is your GOLD.
- Rest Briefly: Once brats hit 160°F, take them off the grill and let them rest for just 2-3 minutes. This helps the juices redistribute.
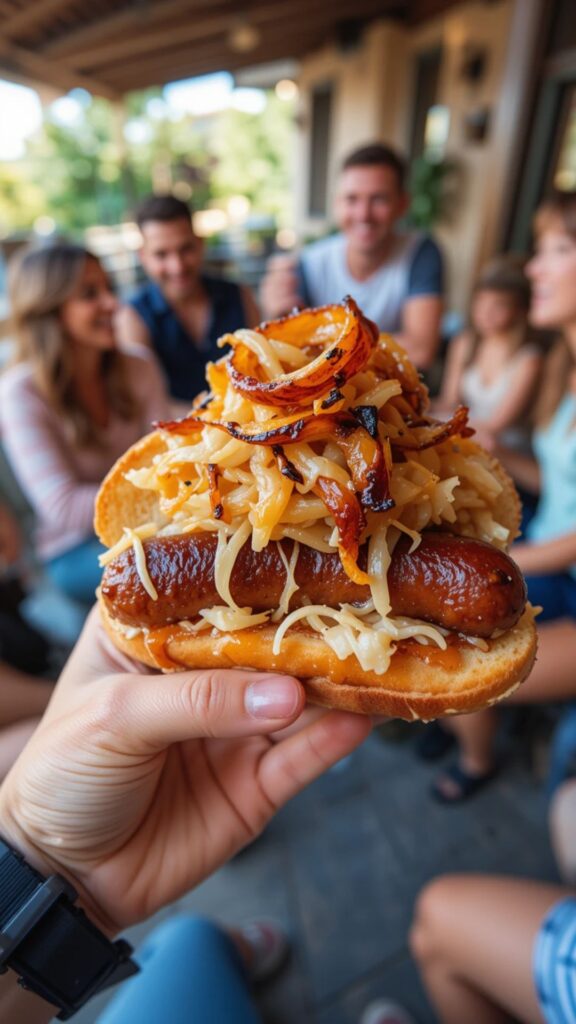
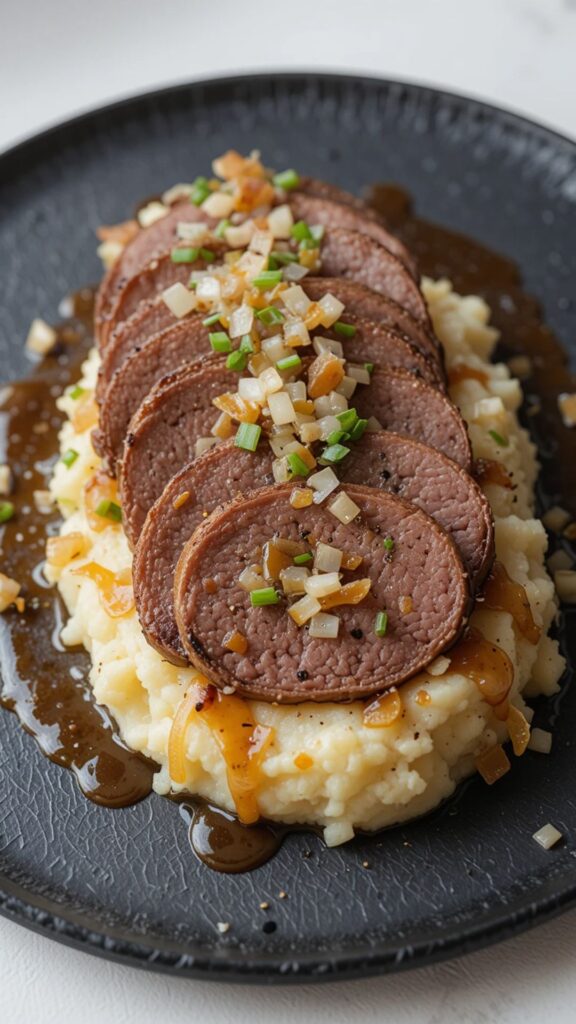
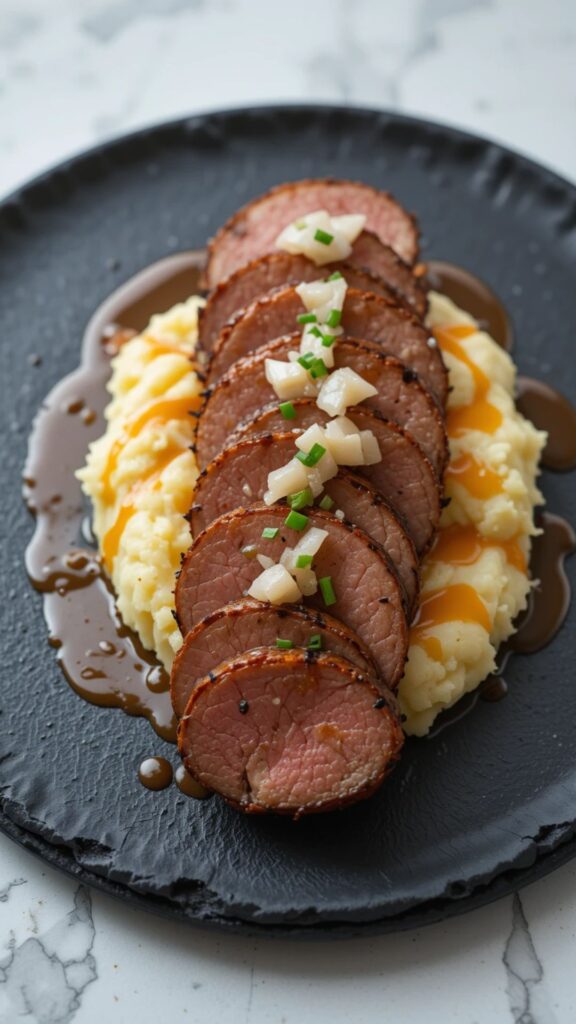
Serving Up the Glory:
- Warm the Buns: Lightly toast your brat buns on the grill for the last minute or two. Just enough to get them warm and slightly crisp.
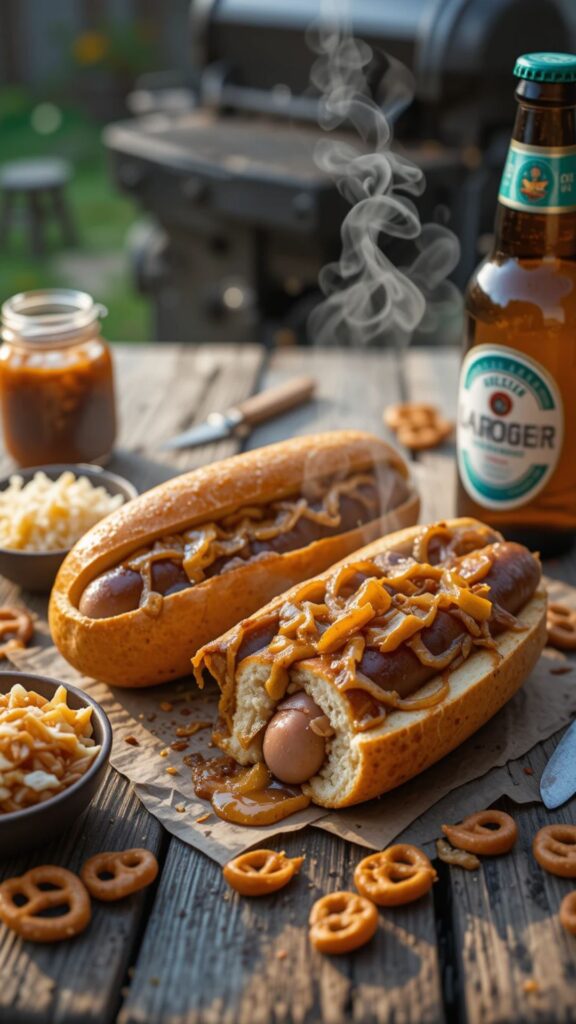
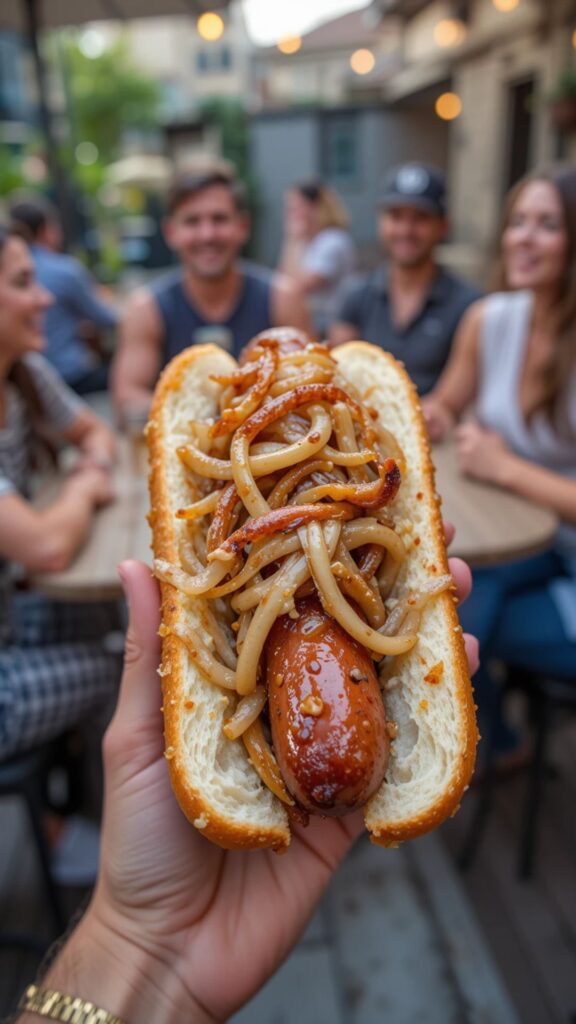
- Brat Placement: Nestle a beautifully grilled brat into each warm bun.
- Crown with Onions: Generously pile on those amazing, reduced beer onions! This is non-negotiable.
- Mustard or Bust: Swipe on a good amount of stone-ground mustard.
- Sauerkraut Sidekick? Add a hefty spoonful of sauerkraut alongside or on top if that’s your jam.
- Pickle Power: A side of pickles or a dollop of relish adds a nice tangy crunch.
- The Perfect Pairings: Serve these beauties with classic sides:
- Creamy Potato Salad
- Tangy Coleslaw
- Simple Baked Beans
- Crispy Potato Chips or Fries
- Extra mustard and kraut on the table, obviously!
- And hey, crack open another cold one of the beer you used!
Level Up Your Brat Game (Insider Tips & Tweaks):
- Beer Choice Matters: Experiment! An amber ale adds caramel notes, a hefeweizen adds subtle banana/clove. Just avoid super bitter or super sweet extremes for the bath.
- Spice It Up: Add a pinch of red pepper flakes to the simmering liquid, or use a spicy bratwurst.
- Herb Infusion: Toss a couple of sprigs of fresh thyme or rosemary into the beer bath.
- Onion Upgrade: Add a sliced bell pepper (any color) to the onions while they simmer.
- No Grill? No Problem! After simmering, heat a heavy skillet (cast iron is best) over medium-high heat with a little oil. Sear the brats until browned all over.
- Dietary Tweaks:
- Gluten-Free: Use a certified GF lager/pilsner and GF broth. Ensure your buns and sausages are GF (many brats are naturally GF, but check labels!).
- Lower Carb: Skip the bun! Serve the brat topped with onions and mustard over sauerkraut or with a side salad.
- Poultry Preference: Use high-quality chicken or turkey bratwurst instead of pork. Simmering time might be slightly less – cook to 165°F internal temp.
- Flavor Booster: Stir a teaspoon of whole grain mustard into the reducing onions at the end.
- Secret Weapon Thermometer: Seriously, an instant-read meat thermometer takes the guesswork out and guarantees perfectly cooked, juicy brats every single time. Worth its weight in gold for grilling confidence! (Check out reliable options Here
The Grand Finale (Wrap Up):
So there you have it – your ticket to Beer Brat bliss! Simmer those sausages in a savory beer and onion bath for incredible moisture and flavor, then finish them on the grill for that irresistible smoky char. Top them with the transformed, caramelized beer onions, slather on some mustard, and pile on the sides. It’s simple, satisfying, and screams summer (or anytime you crave comfort!).
Fun Brat Fact: While sausages simmered in beer are enjoyed in many cultures, the specific “Beer Brat” tradition is deeply rooted in Wisconsin culture, especially around Milwaukee. It’s practically the official state sandwich! Tailgates, breweries, and backyard BBQs wouldn’t be the same without them.
Nutritional Snapshot (Per Brat w/ Onions, no bun or heavy sides – Approximate):
- Calories: ~350-450
- Fat: 25-35g (Saturated Fat: 8-12g)
- Cholesterol: 60-80mg
- Sodium: 800-1000mg (Varies greatly by sausage brand – check labels!)
- Carbohydrates: 8-12g (Primarily from onions/beer sugar)
- Protein: 15-20g
- Note: Adding a bun, sauerkraut, mustard, etc., will increase these values. Sodium is often high in processed sausages.
Beer Brat FAQ (Because We Know You’ll Ask!):
- Can I use any beer? You can, but stick to lagers, pilsners, or lighter ales for best flavor. Avoid very bitter IPAs or very sweet/syrupy stouts/porters in the simmering liquid. Drink those alongside instead!
- Do I HAVE to simmer them in beer first? Can’t I just grill? You can just grill, but simmering first is the key to ultra-juicy, flavor-infused brats and prevents them from drying out or burning on the grill before cooking through. It’s the signature step!
- Why did my brat burst?! Two main reasons: You didn’t poke holes before simmering (releasing steam), OR you boiled them instead of simmering gently. Low and slow simmer + tiny vent holes = intact brats!
- The beer bath made my brats taste bitter! You likely used a very hoppy beer (like an IPA). Stick to milder lagers/pilsners next time. A touch of brown sugar can also help balance any slight bitterness.
- Can I make these ahead? Absolutely! Simmer the brats in the beer bath, then store them in the liquid in the fridge for up to 2 days. When ready, remove from liquid, pat dry, and grill as directed. Reheat the onions separately.
- What do I do with the leftover beer liquid? Reduce it down with the onions as described – it’s liquid gold! If you have a lot left after reducing, you can strain it and use it as a base for soups or stews, but it’s quite concentrated.
Go forth and conquer those brats! Fire up the grill, grab a cold one, and get ready for some seriously delicious eats. Don’t forget to tell us how your Beer Brat adventure turns out – happy grilling! 🍻🌭