(And How to Nail It Without Fancy Chef Skills)
Hey there, home chef! If you’re craving something crispy on the outside, juicy on the inside, and guaranteed to make your taste buds do a happy dance, Chicken Kiev is your new best friend. Imagine tender chicken oozing with garlic-herb butter — it’s like a flavor explosion in every bite. Let’s break it down together, step by step. No stress, just deliciousness.
1. What’s the Big Deal About Chicken Kiev?
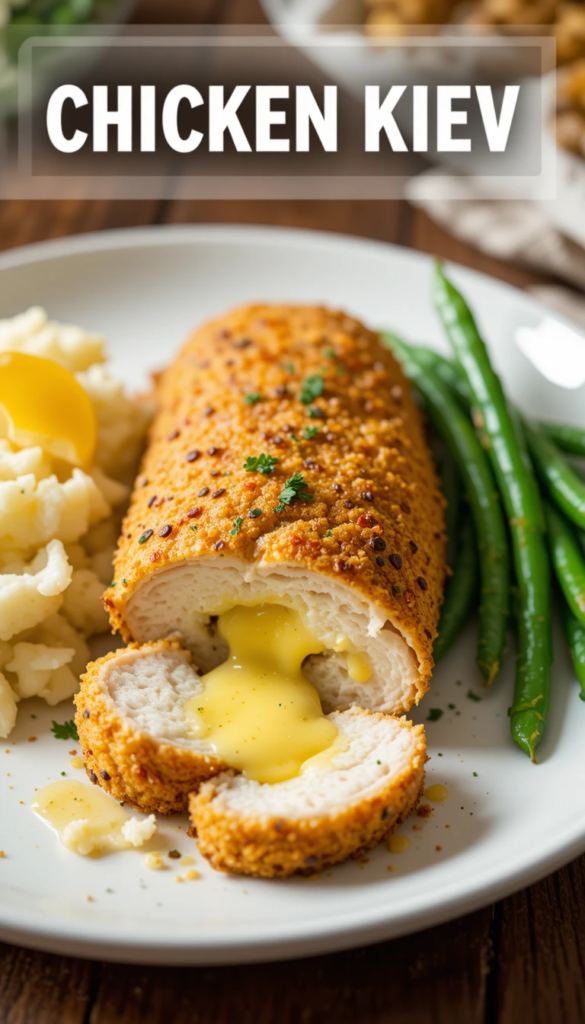
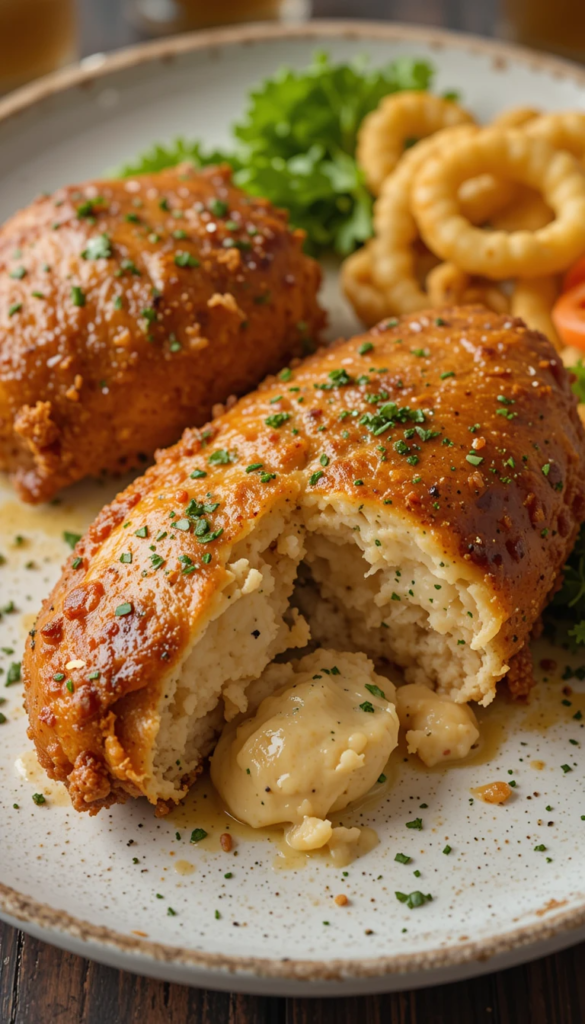
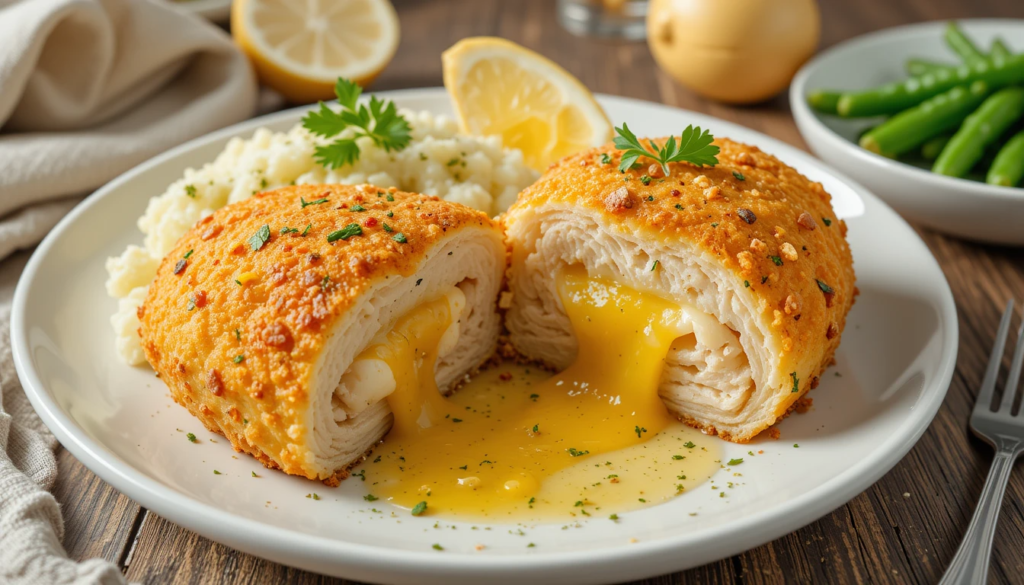
Chicken Kiev is a classic dish with a fun backstory. Some say it’s Ukrainian; others argue it’s Russian. Either way, it’s been winning hearts since the 1940s. The magic? A crispy golden crust hides a pocket of melted herb butter that gushes out when you cut into it. It’s the ultimate comfort food with a “wow” factor.
2. Grocery List: What You’ll Need
No weird ingredients, promise.
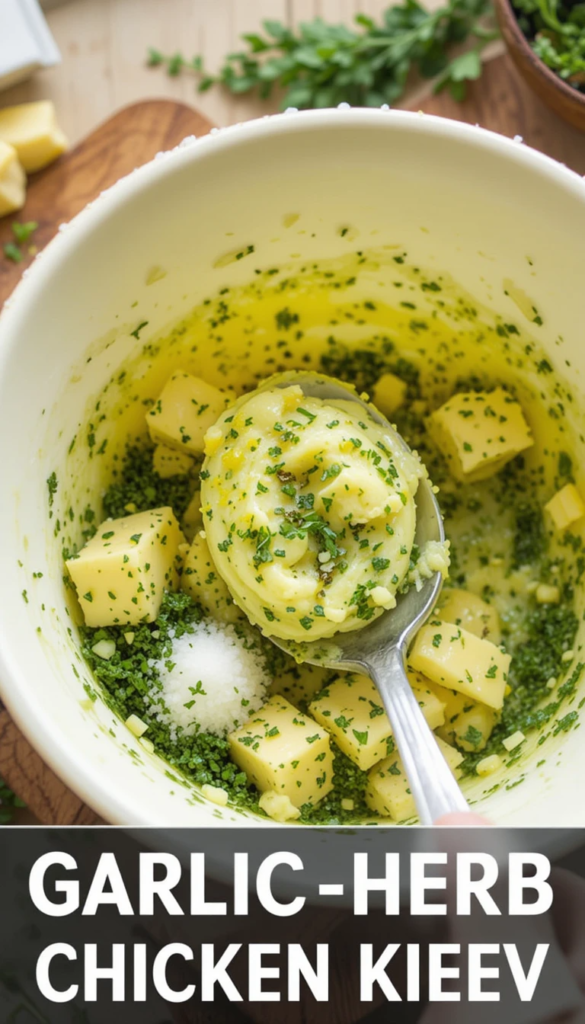
For the Garlic-Herb Butter:
- ½ cup (1 stick) unsalted butter, softened (Kerrygold works great for flavor!)
- 2 garlic cloves, minced (or 1 tsp pre-minced from a jar)
- 1 tbsp fresh parsley, chopped (or 1 tsp dried)
- 1 tsp fresh dill (or ½ tsp dried)
- ½ tsp lemon zest
- ¼ tsp salt
For the Chicken:
- 4 boneless, skinless chicken breasts (about 6 oz each)
- ½ cup all-purpose flour
- 2 large eggs
- 1 cup breadcrumbs (Italian-seasoned adds extra flavor)
- 1 tsp paprika (smoked paprika for a kick!)
- Oil for frying (vegetable or canola)
Tools:
- Plastic wrap or parchment paper
- Meat mallet (or a rolling pin/wine bottle in a pinch)
- Toothpicks
3. Prep Work: Let’s Get Organized
(Channel your inner prep chef!)
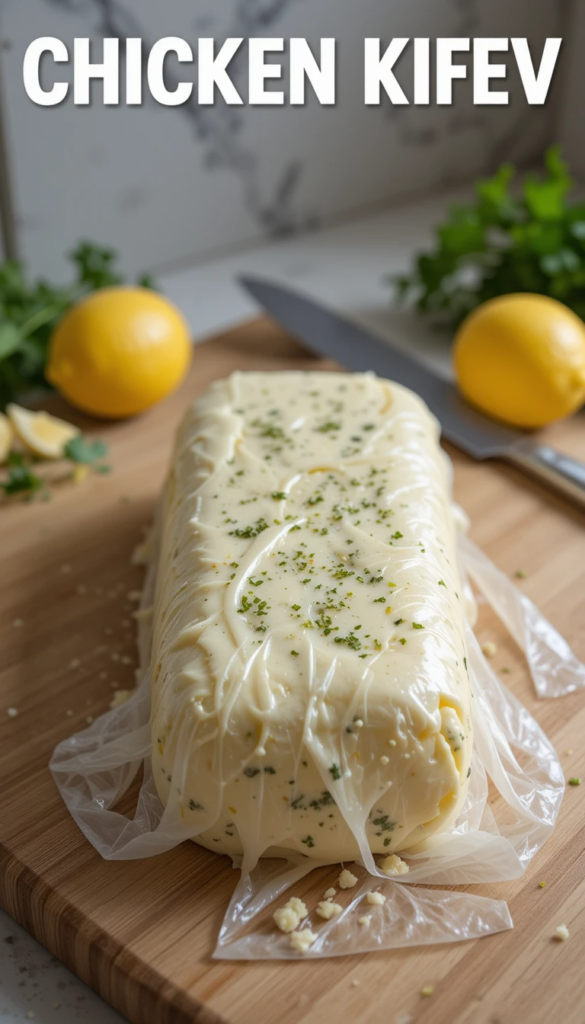
Step 1: Make the Butter Log
Mix all the butter ingredients in a bowl. Scoop onto plastic wrap, roll into a log, and freeze for 20 minutes.
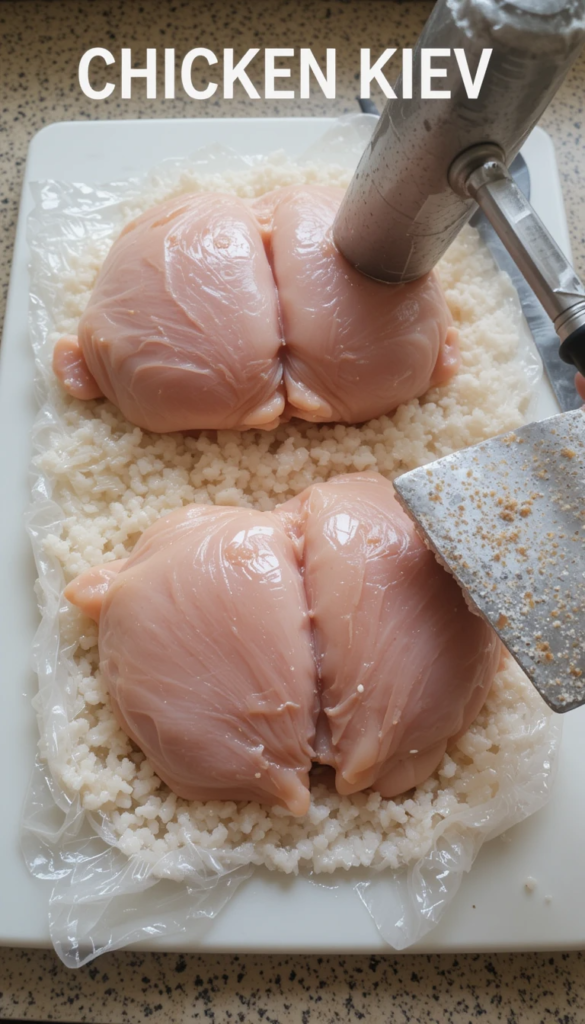
Step 2: Butterfly the Chicken
Slice each breast horizontally (don’t cut all the way through!). Open it like a book.
Step 3: Pound It Out
Place chicken between plastic wrap. Gently pound to ¼-inch thickness. No holes, please!
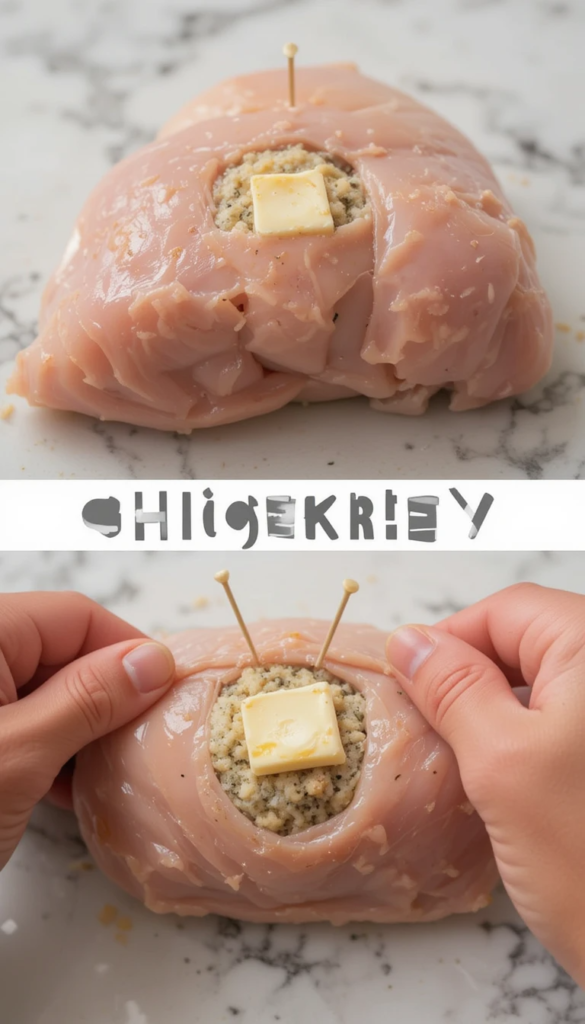
Step 4: Stuff & Roll
Cut the butter log into 4 pieces. Place one in the center of each chicken breast. Fold the sides, roll tightly, and secure with toothpicks.
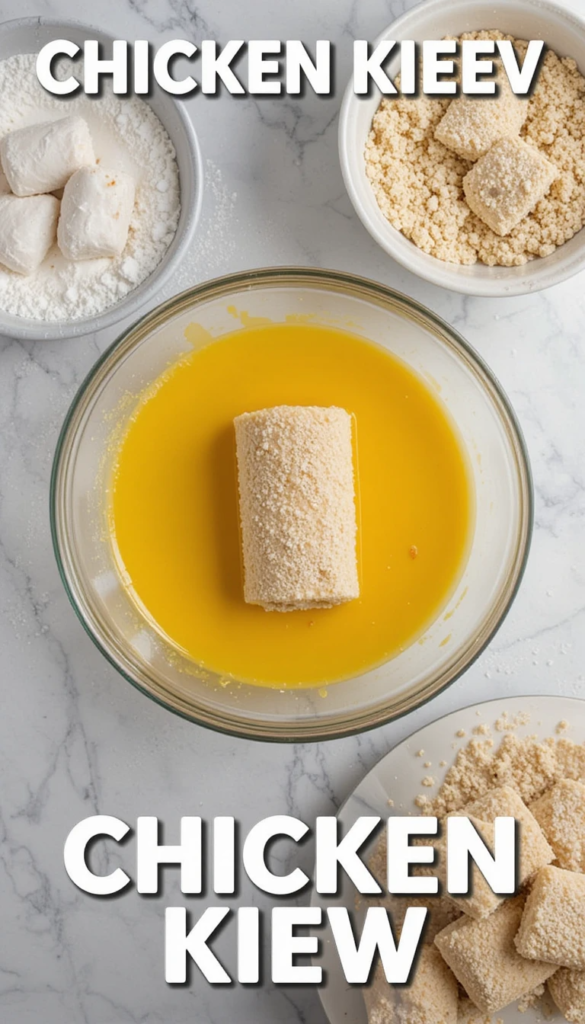
Step 5: Breading Station
Set up 3 bowls:
- Flour + paprika
- Beaten eggs
- Breadcrumbs
Coat each chicken roll: flour → egg → breadcrumbs. Chill for 30 minutes (keeps the butter from leaking!).
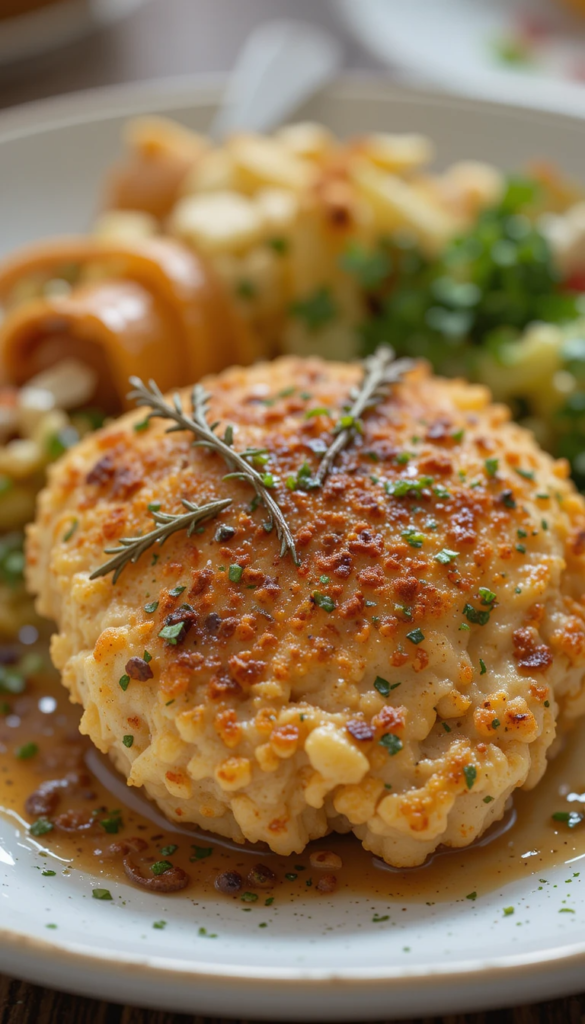
4. Cooking: Crispy Perfection
Fry or bake? Your call!
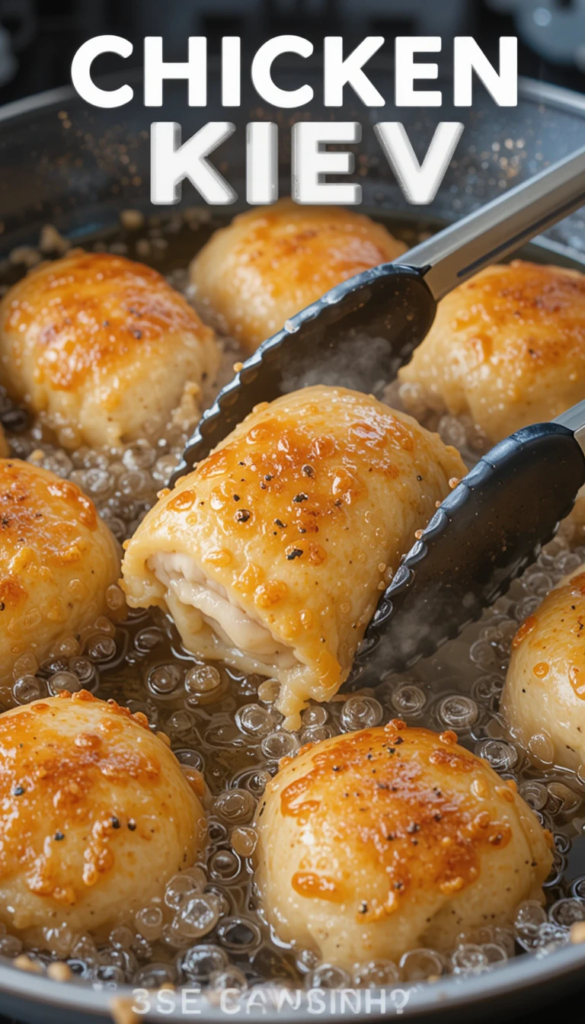
Pan-Frying Method:
- Heat 1 inch of oil in a skillet to 350°F (medium heat).
- Fry chicken 5–6 minutes per side until golden. Use tongs to turn gently!
Baking Hack:
- Preheat oven to 375°F.
- Bake on a rack for 25–30 minutes. Spritz with oil for crispiness.
Secret Tip: Use a meat thermometer! Chicken is done at 165°F.
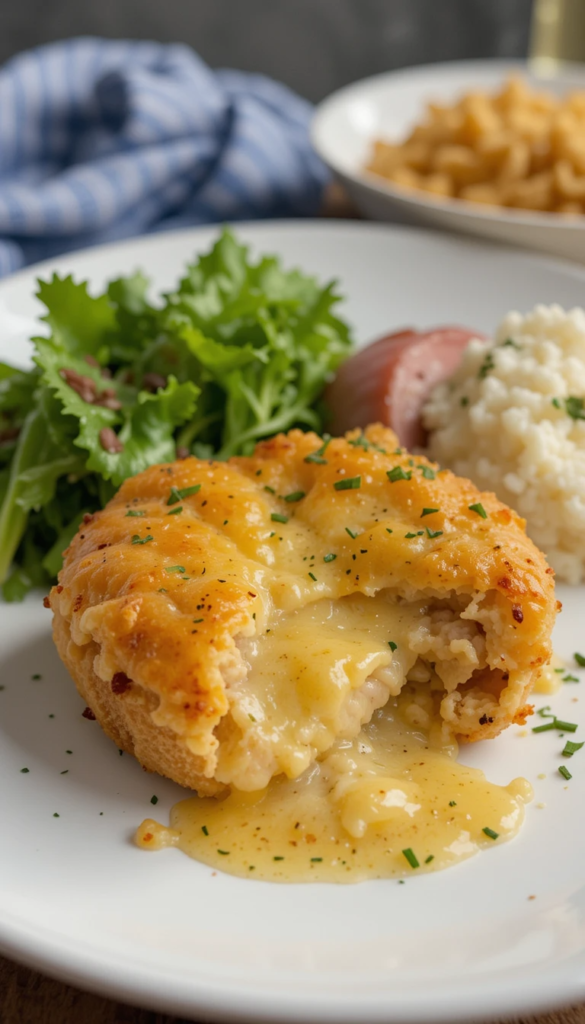
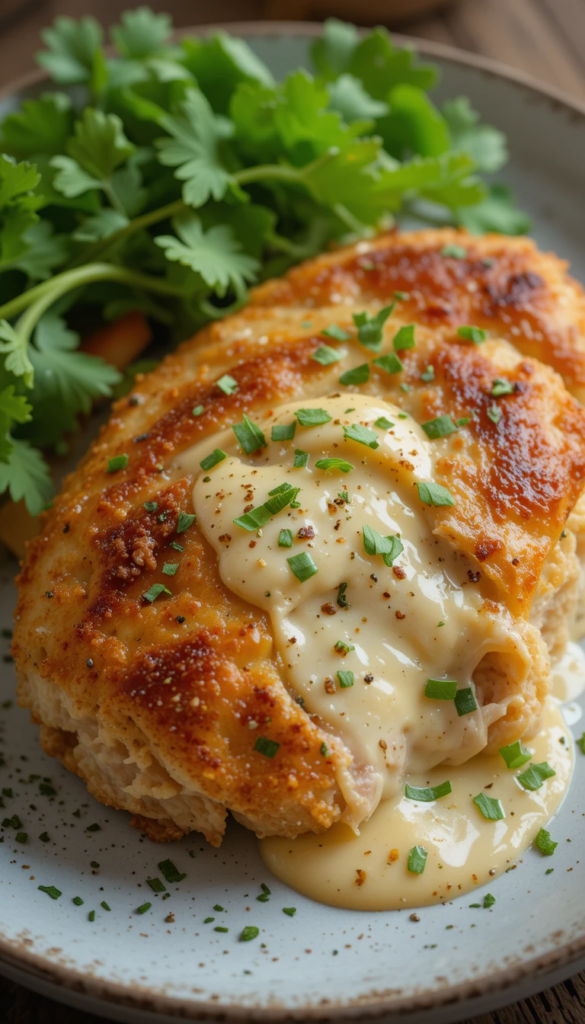
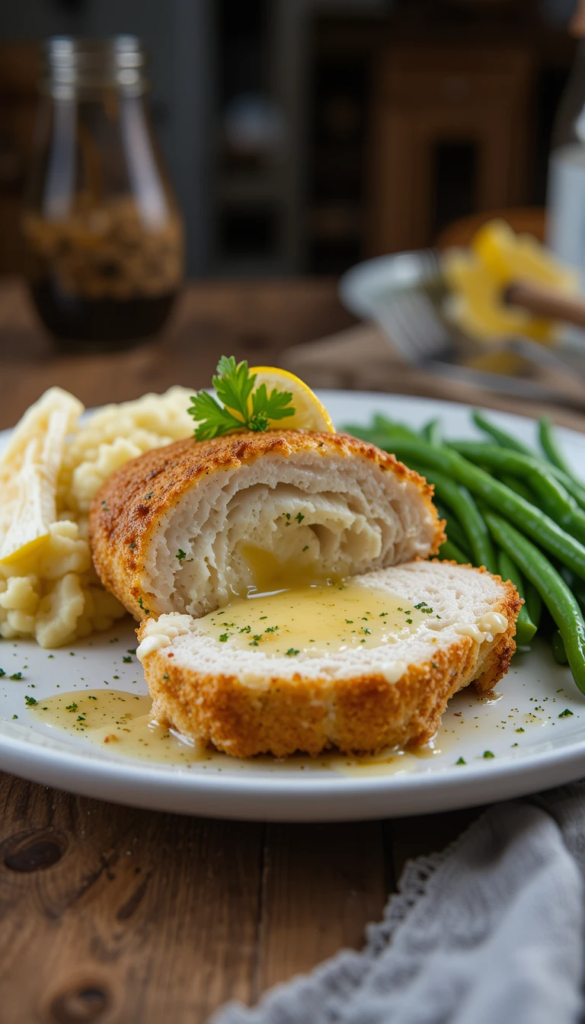
5. Serving: Plate It Like a Pro
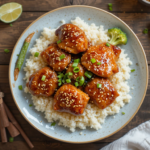
Pair with:
- Creamy mashed potatoes (butter’s best friend!)
- Steamed green beans or roasted carrots
- A lemon wedge and parsley sprinkle for color
Cut it open at the table for that iconic butter reveal.
6. Pro Tips to Level Up
- Butter Leak Fix: Double-wrap the chicken in plastic after breading.
- Gluten-Free? Use almond flour and gluten-free breadcrumbs.
- Make Ahead: Prep the rolls and freeze before frying.
7. Final Thoughts
Chicken Kiev might look fancy, but it’s totally doable. The key? Chill the butter, seal the chicken tight, and don’t rush the frying. Fun fact: The dish became famous in the U.S. after being served at a New York City restaurant in the 1960s. Now it’s your turn to rock it!
FAQ: Your Burning Questions
Q: Help! My butter leaked out. What did I do wrong?
A: The chicken probably wasn’t sealed tightly enough. Use toothpicks and chill longer next time.
Q: Can I use dried herbs instead of fresh?
A: Yep! Use ⅓ the amount (dried herbs are more potent).
Q: Can I prep this ahead?
A: Absolutely! Assemble the rolls and refrigerate for up to 24 hours before cooking.
Q: How do I reheat leftovers?
A: Oven at 350°F for 10–15 minutes. Microwaving = soggy breading.
Q: Air fryer option?
A: Yes! Spray with oil and air fry at 375°F for 18–20 minutes.
Now go forth and conquer Chicken Kiev! Tag your masterpiece on social — we bet it’ll steal the spotlight. 😊