🥢 Introduction
If you’ve ever had dumplings at a restaurant and thought “I wish I could make these at home” — this is your moment.
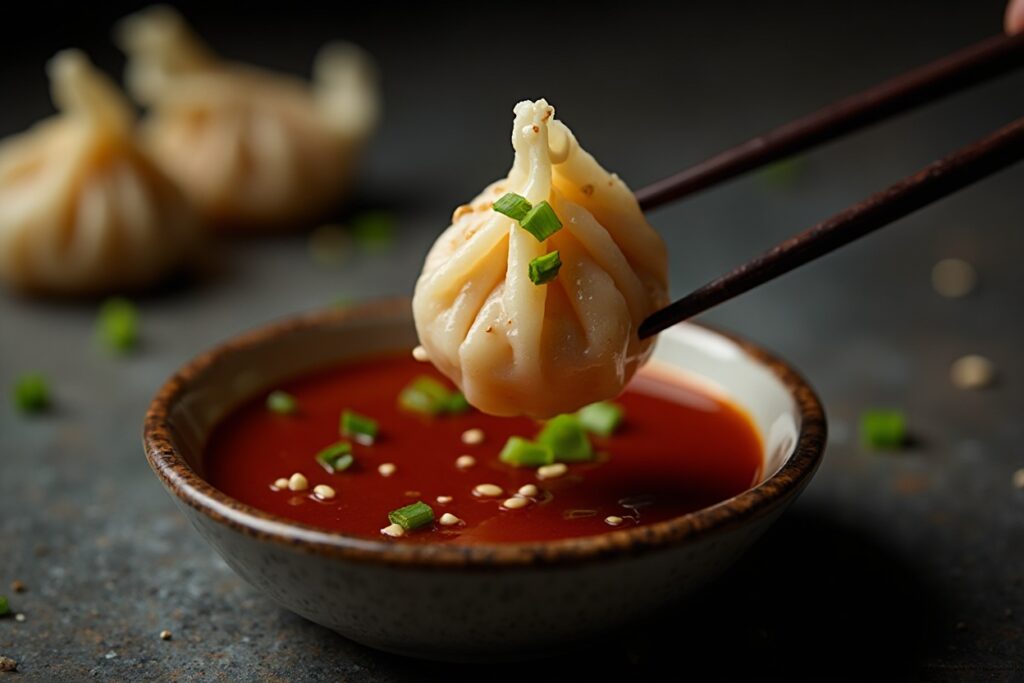
Chicken Dumplings (also known as Potstickers) are crispy on the bottom, soft on top, and packed with juicy, flavorful filling. They’re the perfect mix of comfort food and impressive appetizer. The best part? Once you learn the method, you can customize them endlessly.
This recipe is simple, beginner-friendly, and tastes even better than takeout.
🛒 Ingredients
🥟 For the Filling:
- 500g ground chicken
- 1 cup finely chopped cabbage
- 3 green onions (chopped)
- 3 cloves garlic (minced)
- 1 tablespoon ginger (grated)
- 2 tablespoons soy sauce
- 1 tablespoon sesame oil
- 1 teaspoon salt
- ½ teaspoon black pepper
🥟 For Dumplings:
- 30–35 dumpling wrappers (store-bought or homemade)
- 2 tablespoons water (for sealing)
🥟 For Cooking:
- 2 tablespoons vegetable oil
- ½ cup water (for steaming)
🥟 Dipping Sauce:
- 3 tablespoons soy sauce
- 1 tablespoon vinegar
- 1 teaspoon chili oil (optional)
- ½ teaspoon sugar
🍳 Essential Kitchen Tools & Appliances
- Mixing bowl
- Cutting board
- Sharp knife
- Garlic press (optional)
- Spoon or spatula
- Non-stick pan or skillet
- Lid (for steaming)
- Small bowl (for sealing water)
🔪 Preparation Steps
1. Prep the Veggies
Finely chop cabbage and green onions. Mince garlic and grate ginger.
2. Make the Filling
In a large bowl, combine:
- Ground chicken
- Cabbage
- Green onions
- Garlic
- Ginger
- Soy sauce, sesame oil, salt, and pepper
Mix everything well until evenly combined.
3. Fill the Dumplings
- Take one wrapper and place it in your palm
- Add about 1 tablespoon filling in the center
- Dip your finger in water and wet the edges
- Fold and pinch to seal (classic half-moon shape or pleats)
👉 Repeat until all dumplings are ready.
🔥 Cooking Instructions (Pan-Fry + Steam Method)
Step 1: Heat the Pan
- Heat 1–2 tablespoons oil in a non-stick pan over medium heat
Step 2: Arrange Dumplings
- Place dumplings flat-side down in the pan
- Don’t overcrowd them
Step 3: Crisp the Bottom
- Cook for 2–3 minutes until golden brown
Step 4: Steam
- Carefully add ½ cup water
- Immediately cover with a lid
- Steam for 5–6 minutes
Step 5: Final Crisp
- Remove lid and cook for another 1–2 minutes
- Bottom should be crispy again
👉 That’s the signature potsticker texture — crispy + juicy!
🍽️ Serving Suggestions
Serve hot with dipping sauce on the side.
Garnish Ideas:
- Chopped green onions
- Sesame seeds
- Chili flakes
Pair With:
- Fried rice
- Stir-fried noodles
- Light soup
💡 Additional Tips
- Juicy Secret: Add 1 tablespoon water or broth to the filling
- Extra Flavor: Mix in a little oyster sauce
- Healthier Option: Steam only (skip frying)
- Spicy Version: Add chili paste to filling
- Crispier Base: Use slightly more oil
📊 Nutrition Details (Per Serving – approx. 5 dumplings)
| Nutrient | Amount |
|---|---|
| Calories | 220 kcal |
| Protein | 18 g |
| Carbohydrates | 20 g |
| Fat | 8 g |
| Fiber | 2 g |
| Sodium | 450 mg |
❓ FAQ Section
1. Can I freeze dumplings?
Yes! Freeze them uncooked on a tray, then store in a bag. Cook directly from frozen.
2. What if I don’t have dumpling wrappers?
You can use wonton wrappers or even thin rolled dough.
3. How do I know they’re cooked?
The filling should be firm, and internal temperature should reach 75°C.
4. Can I bake them instead?
Yes, but they won’t have the same crispy bottom texture.
5. How long do leftovers last?
Store in the fridge for up to 3 days in an airtight container.
🥟 Wrap-Up
Chicken dumplings are one of those dishes that feel fancy but are surprisingly easy once you try them. The crispy bottom, juicy filling, and flavorful dip make every bite satisfying.
Fun fact: Potstickers got their name from accidentally sticking to the pan — and people loved the crispy result so much, it became intentional!
Once you make these at home, you’ll never look at store-bought the same way again.