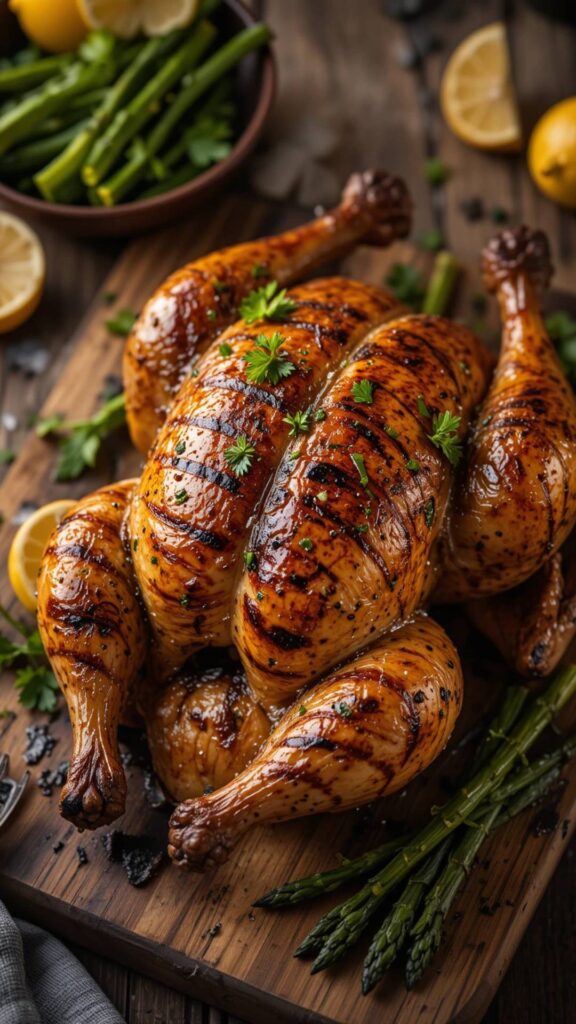
Alright, fellow food adventurer! You’re craving something smoky, succulent, and seriously satisfying, but maybe don’t wanna babysit the grill for hours? Say hello to the Grilled Butterflied Chicken – your new weeknight hero and weekend crowd-pleaser rolled into one glorious bird. This isn’t just grilling; it’s a smarter way to grill chicken. Let’s dive in!
1. Why Butterflied Chicken is a Total Game-Changer
Imagine this: a whole chicken, cooked evenly – no more dried-out breast while the thighs play catch-up. Butterflying (or “spatchcocking” if you wanna sound fancy) means removing the backbone and flattening the chicken. This genius move exposes all that delicious skin directly to the heat for maximum crispiness, reduces cooking time drastically (we’re talking 45-60 minutes instead of 1.5+ hours!), and ensures every single bite is juicy. Plus, it looks seriously impressive on a platter. Winner? Absolutely.
2. Gear Up: Your Shopping List (No Fancy Stuff Required!)
- The Star:
- 1 whole chicken (4 to 5 pounds / 1.8 to 2.3 kg) – Look for plump, fresh birds. Organic or air-chilled are great if available, but any good quality chicken works.
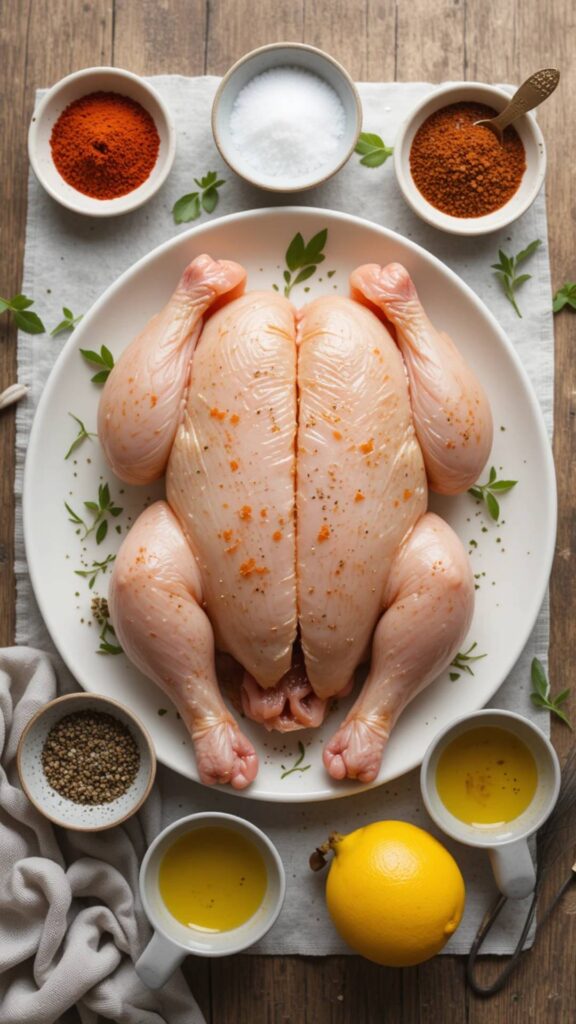
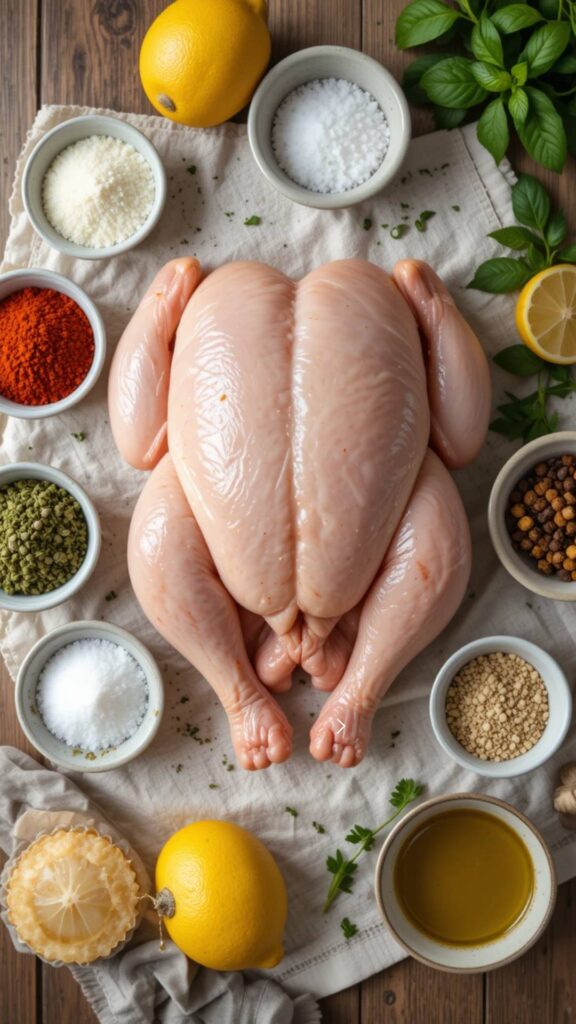
- The Flavor Bomb (Dry Rub):
- 2 tablespoons olive oil (or avocado oil)
- 1.5 tablespoons kosher salt (Diamond Crystal is less salty by volume than Morton’s; if using table salt, start with 1 tbsp!)
- 1 tablespoon smoked paprika (regular paprika works, but smoked adds magic)
- 1 tablespoon garlic powder
- 1 tablespoon onion powder
- 1.5 teaspoons freshly ground black pepper
- 1 teaspoon dried thyme (or rosemary, or oregano – your choice!)
- (Optional Kick): 1/2 to 1 teaspoon cayenne pepper or chili powder
- The Grill Setup:
- Charcoal OR Gas Grill
- Hardwood lump charcoal (for charcoal) OR Propane tank (for gas, duh)
- Aluminum foil (for drip pan)
- Tongs (long ones!)
- Sharp kitchen shears or a heavy chef’s knife (for butterflying)
- Instant-read meat thermometer (ESSENTIAL – don’t guess!)
- Cutting board (preferably one just for raw meat)
3. Pre-Game Prep: Getting Your Bird Beach-Body Ready (Step-by-Step!)
- Chill Out: Take the chicken out of the fridge about 30 minutes before cooking. Cold meat + hot grill = uneven cooking. Let it relax!
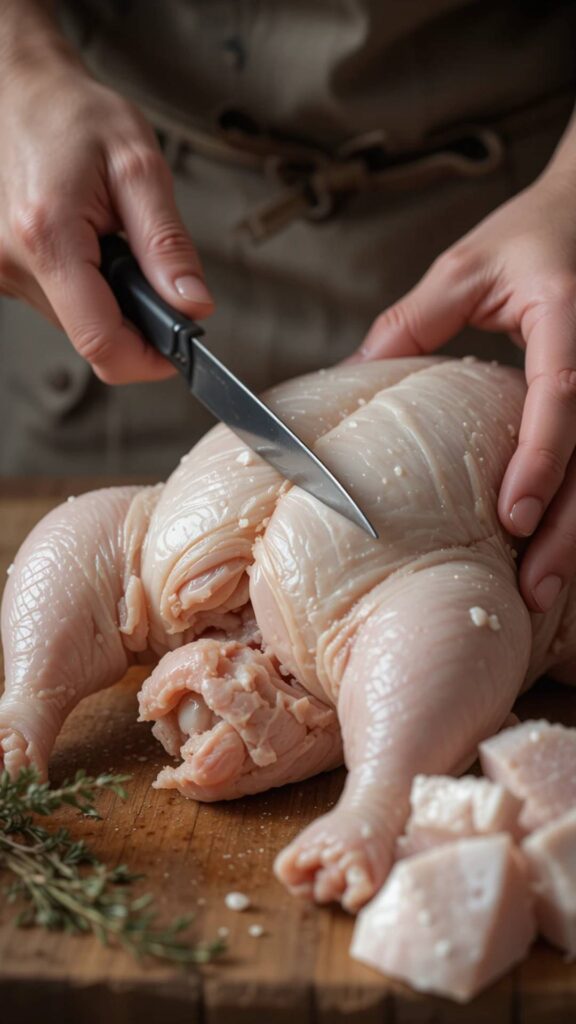
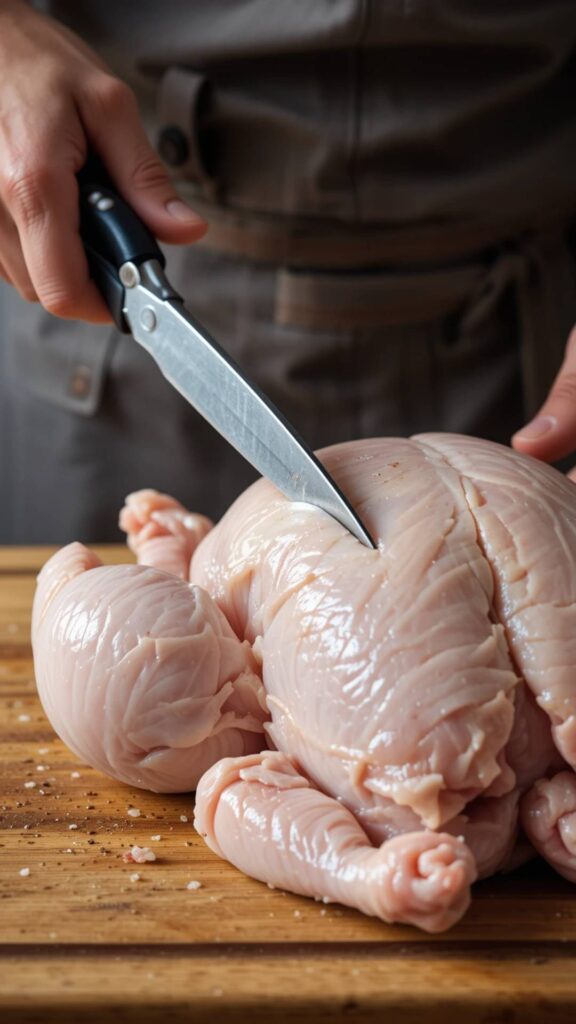
- Butterfly Bonanza (Don’t Panic!):
- Place the chicken breast-side DOWN on your cutting board, tail end pointing towards you.
- Find the backbone running down the center. Using your super-sharp shears or knife, cut firmly along ONE side of the backbone, from the tail end up towards the neck. Listen for the little bone snaps – it’s satisfying!
- Repeat on the OTHER side of the backbone to remove it completely. (Save this backbone! Toss it in a freezer bag for amazing stock later.)
- Flip the chicken over so it’s breast-side UP. Now, press down FIRMLY on the breastbone with the heel of your hand. You’ll hear a slight crack – that’s good! This flattens it out beautifully. Pat it dry thoroughly with paper towels – crispy skin starts here!
- Rub-a-Dub-Dub: In a small bowl, mix together all those dry rub spices (salt, paprika, garlic powder, onion powder, pepper, thyme, optional cayenne). Drizzle the olive oil all over the chicken (both sides!). Now, sprinkle the spice rub generously over every nook and cranny – get under the wings, thighs, everywhere! Massage it in lovingly. Seriously, give it a little shoulder rub.
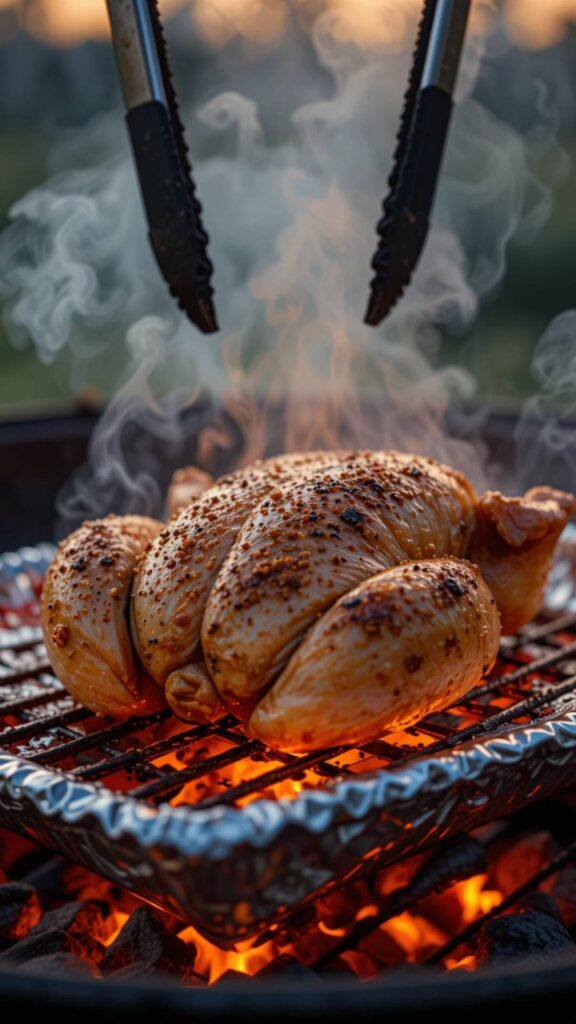
4. Fire It Up! The Grilling Dance (Indirect Heat is Key!)
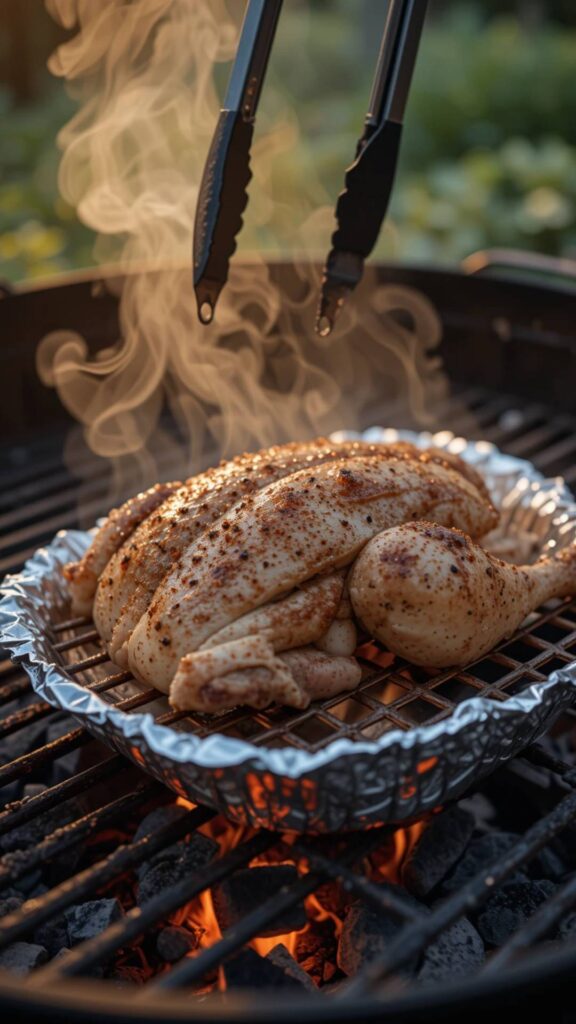
- Prep the Grill: Aim for a medium-high heat zone (about 375-400°F / 190-200°C). For Charcoal: Pile lit coals on one side of the grill. For Gas: Light only half the burners (usually the left or right side). Place an aluminum foil drip pan filled with a cup of water on the cool side directly under where the chicken will go (catches drips, prevents flare-ups, adds moisture).
- Skin Side Up First: Place the butterflied chicken, skin-side UP, directly over the cool side (the side without direct heat under it). Close the lid. This is the indirect cooking phase – slow and steady wins the juicy race.
- The Patient Part: Grill undisturbed for about 30-40 minutes. Resist the urge to peek too often! You want that heat circulating.
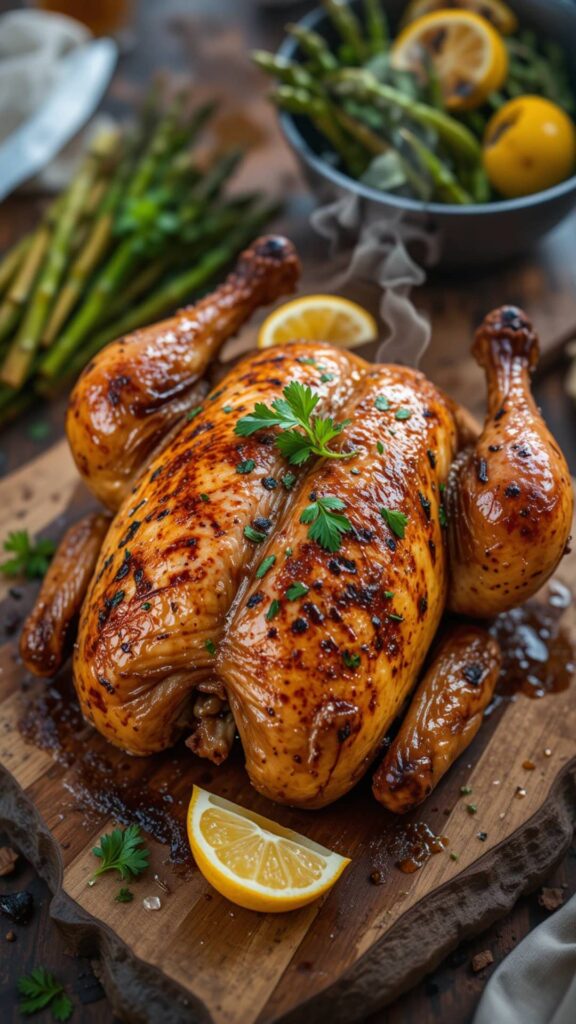
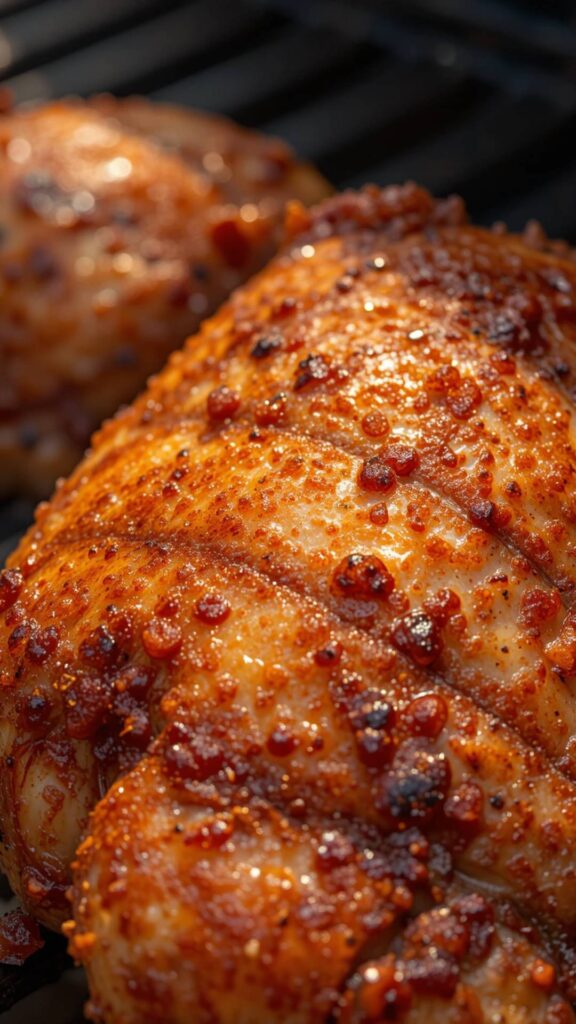
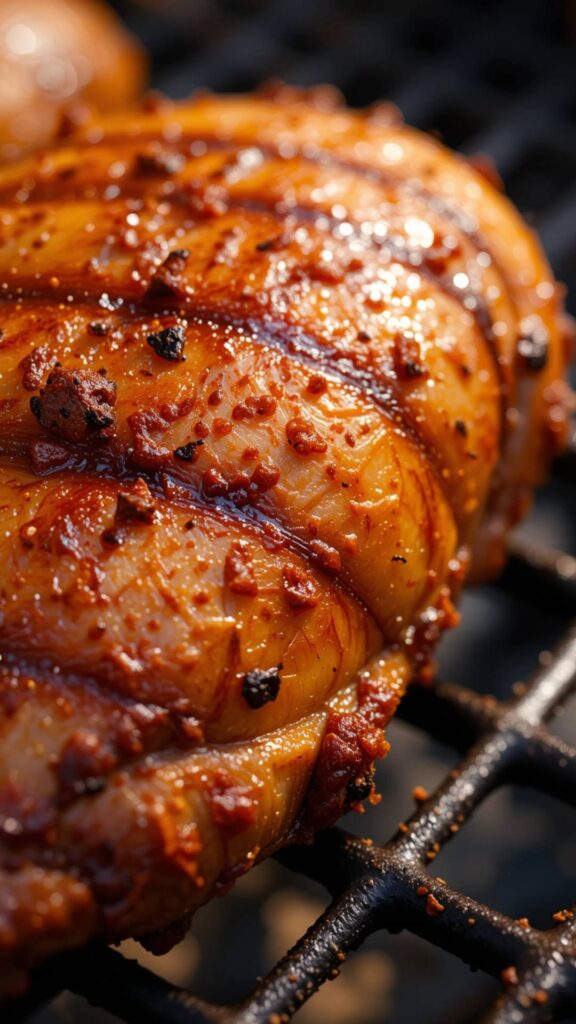
- Crispification Station: After 30-40 mins, carefully flip the chicken over so it’s now skin-side DOWN. Move it directly over the hot coals/burners. This is where the magic crisp happens! Grill for about 10-15 minutes, watching closely. You want gorgeous golden-brown, slightly charred skin, but not burnt. Use tongs to move it around if any spots are cooking faster.
- The Final Flip & Temp Check: Flip it back over to skin-side UP. Move it back to the cool side if the skin is perfect but the inside needs more time. Insert your instant-read thermometer into the thickest part of the thigh (avoiding bone). You’re aiming for 165°F (74°C). The breast should be around 160°F (71°C) – it will carry over to 165°F as it rests. This usually takes another 5-15 minutes total. DON’T OVERCOOK! The thermometer is your best friend.
- Rest is Best: Once perfectly cooked, transfer the chicken to a clean cutting board or platter. TENT LOOSELY WITH FOIL and let it rest for AT LEAST 10-15 MINUTES. This is non-negotiable! It lets the juices redistribute, guaranteeing moistness when you carve. Seriously, walk away. Make a salad. Do not skip the rest!
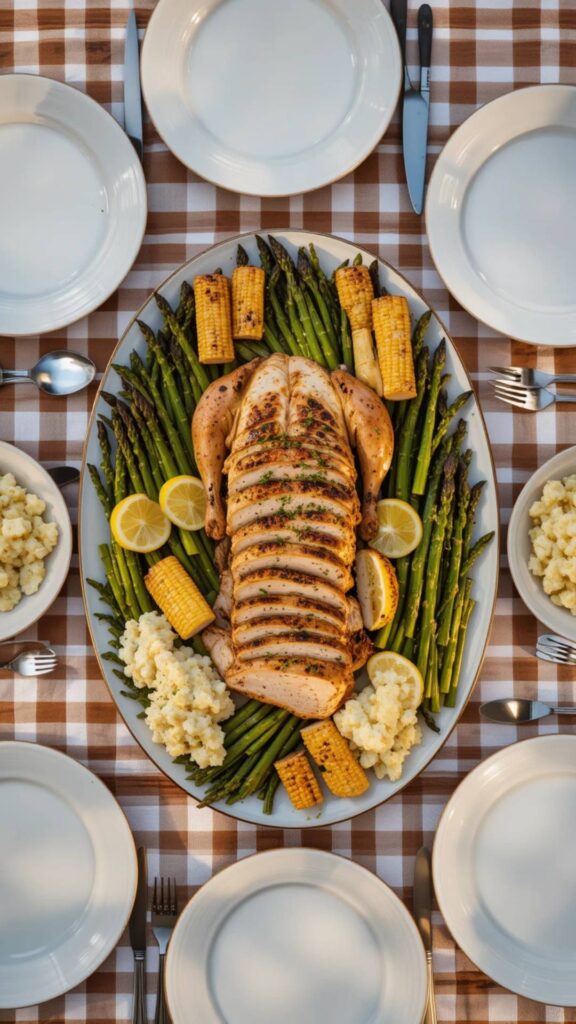
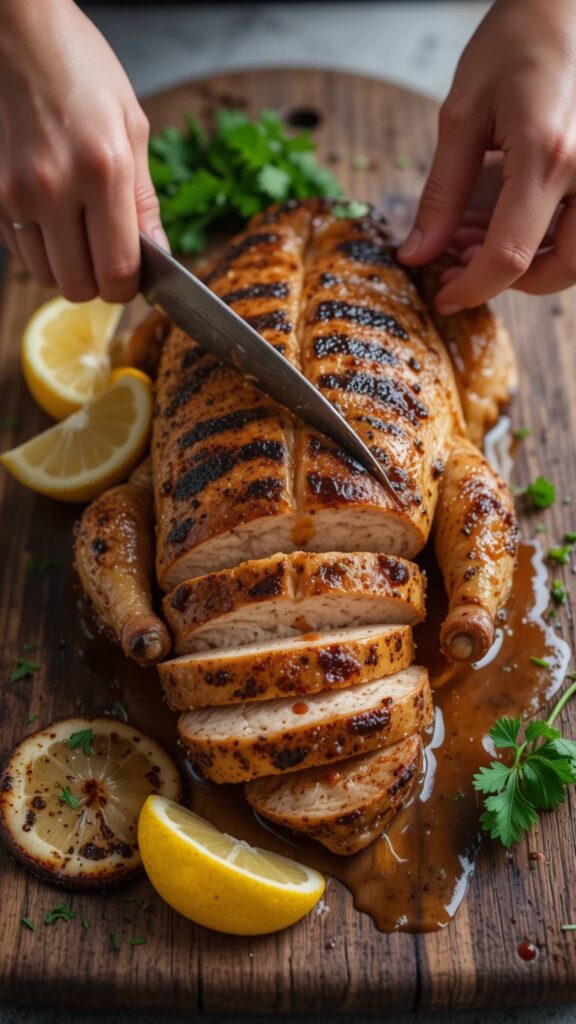
5. Showtime! Serving Your Masterpiece
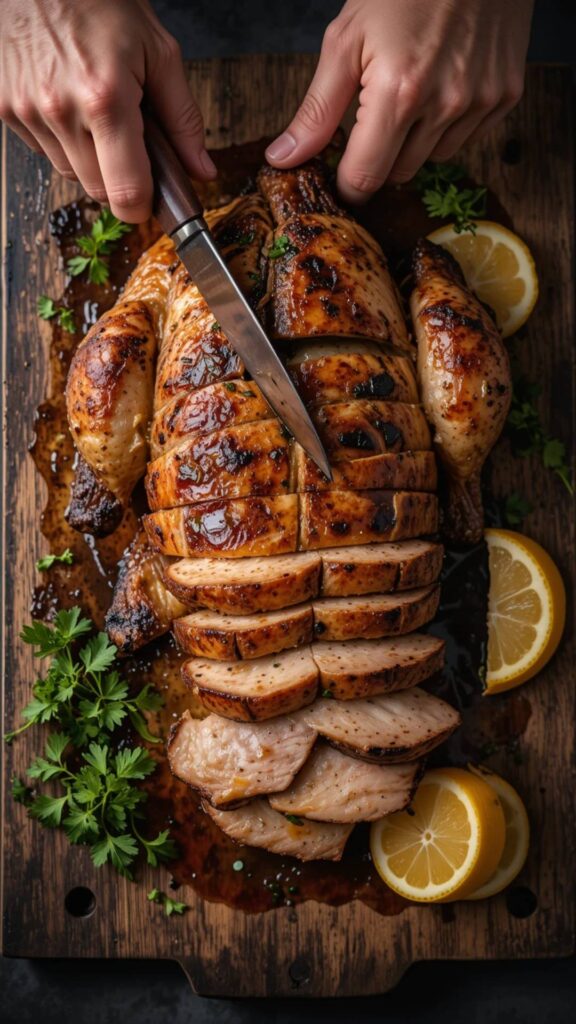
- Carving: Use a sharp knife or kitchen shears. Cut down either side of the breastbone to remove the whole breast, then slice it crosswise. Cut through the joint between the thigh and drumstick. Separate the wings. Pile it all gloriously onto a platter!
- Garnish: Keep it simple! Fresh chopped parsley, cilantro, or chives add a pop of color. Lemon wedges are fantastic for squeezing over.
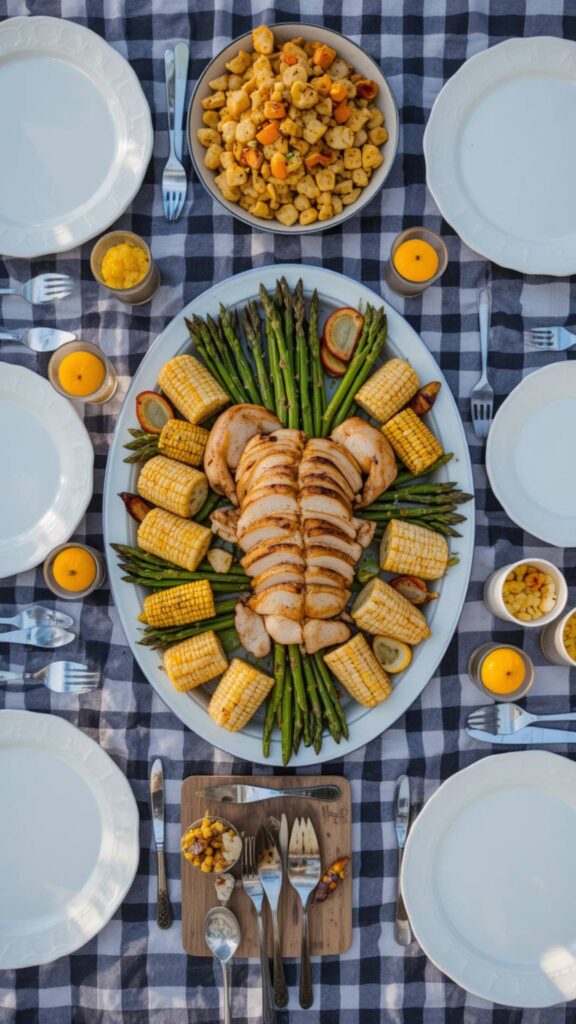
- Sidekicks: This chicken plays well with everyone!
- Classic BBQ: Corn on the cob, potato salad, coleslaw, baked beans.
- Lighter Fare: Big green salad, grilled asparagus or zucchini, quinoa salad.
- Comfort Food: Creamy mashed potatoes, roasted sweet potatoes, mac & cheese (admit it, you want some!).
- Easy Win: Just some crusty bread to soak up the juices! Leftovers make killer chicken sandwiches or nachos.
6. Level Up: Pro Tips & Tweaks
- Brining Boost (For Extra Juicy): For ultimate insurance against dryness, brine the butterflied chicken for 4-12 hours before grilling in a solution of 1/4 cup kosher salt + 1/4 cup sugar dissolved in 1 quart (4 cups) cold water. Rinse and pat VERY dry before applying the rub. Reduce salt in rub slightly if brining.
- Herb Butter Basted Bliss: While resting, melt 3 tbsp butter with 1 minced garlic clove and 1 tbsp chopped fresh herbs (rosemary, thyme, sage). Brush this over the hot chicken just before serving for insane flavor and shine.
- Citrus Zing: Add the zest of 1 lemon or lime to your dry rub. Or stuff lemon/orange slices under the skin before grilling.
- Spice It Your Way: Love jerk? Use a jerk seasoning blend! Cajun fan? Swap in Cajun seasoning. The dry rub base is your playground.
- Dietary Tweaks:
- Lower Salt: Reduce salt in rub to 1 tbsp, skip brining. Rely on other spices.
- Gluten-Free: Naturally GF! Just check spice blends for additives.
- Dairy-Free: Skip the optional herb butter baste or use olive oil.
7. Wrap Up: Why This Recipe Rocks
So, there you have it! Grilled Butterflied Chicken: faster cooking, juicier meat, insanely crispy skin, and perfect for feeding a crowd without breaking a sweat. It turns a sometimes-tricky whole bird into an approachable, foolproof grill star. That backbone you removed? It’s called the “Pope’s Nose” in some places! Fun fact, right? Give this method a shot – I promise it’ll become your go-to chicken move. Fire up that grill, crank some tunes, and get ready for some seriously delicious applause. You got this!
8. Nutrition Notes (Approximate per 4 oz serving of skin-on meat):
- Calories: 250-300 kcal
- Protein: 25-30g (Awesome source!)
- Fat: 15-20g (Mostly unsaturated, includes skin)
- Saturated Fat: 4-5g
- Carbohydrates: 0-1g (Just from spices)
- Sodium: 500-800mg (Varies hugely based on salt in rub/brine – adjust to your needs)
- Key Nutrients: Excellent source of Niacin (B3), Selenium, Vitamin B6, Phosphorus. Good source of Zinc and Choline.
Remember: These are estimates. Actual values depend on the exact size of your chicken, how much skin is eaten, and your specific rub/brine amounts. Removing the skin significantly reduces fat and calories.
9. Grilled Butterflied Chicken FAQ: Your Burning Questions Answered!
- Q: Do I really need to spatchcock it? Can’t I just grill it whole?
- A: You can, but honestly? Butterflying is the secret weapon. It cuts cooking time almost in half and guarantees even cooking (no raw thighs/dry breasts). The crispy skin payoff is worth the 5 minutes of effort!
- Q: Help! I’m scared of cutting out the backbone! Any tips?
- A: Sharp kitchen shears are your best friend! Go slow, cut firmly along the bone. If it feels tough, reposition your shears slightly. Watch a quick 30-second YouTube video beforehand – it demystifies it instantly. You can do it!
- Q: My skin isn’t getting crispy! What am I doing wrong?
- A: The #1 culprit is usually moisture. Pat that bird BONE DRY before oiling and rubbing. Also, ensure your grill is hot enough during the skin-side-down sear. If flare-ups happen, move the chicken briefly to the cool side. Don’t skip the final skin-down step over direct heat!
- Q: Can I cook this in the oven instead?
- A: Absolutely! Preheat oven to 425°F (220°C). Place butterflied chicken on a rack set over a baking sheet (for air circulation). Roast skin-side UP for 40-50 minutes until the internal temp hits 165°F in the thigh. For extra crisp, broil for the last 2-3 minutes (watch closely!).
- Q: How long do leftovers last?
- A: Store cooled leftovers in an airtight container in the fridge for up to 4 days. Reheat gently in the oven or microwave (skin won’t be as crisp). Fantastic for salads, sandwiches, soups, or tacos!
- Q: What if I tear the skin while butterflying?
- A: Don’t sweat it! It happens. Just massage the rub into the meat underneath. It might not look quite as pretty, but it will still taste amazing. The flavor is inside!
Now go forth and conquer that grill! Let me know how your butterflied masterpiece turns out. Happy grilling! 🍗🔥