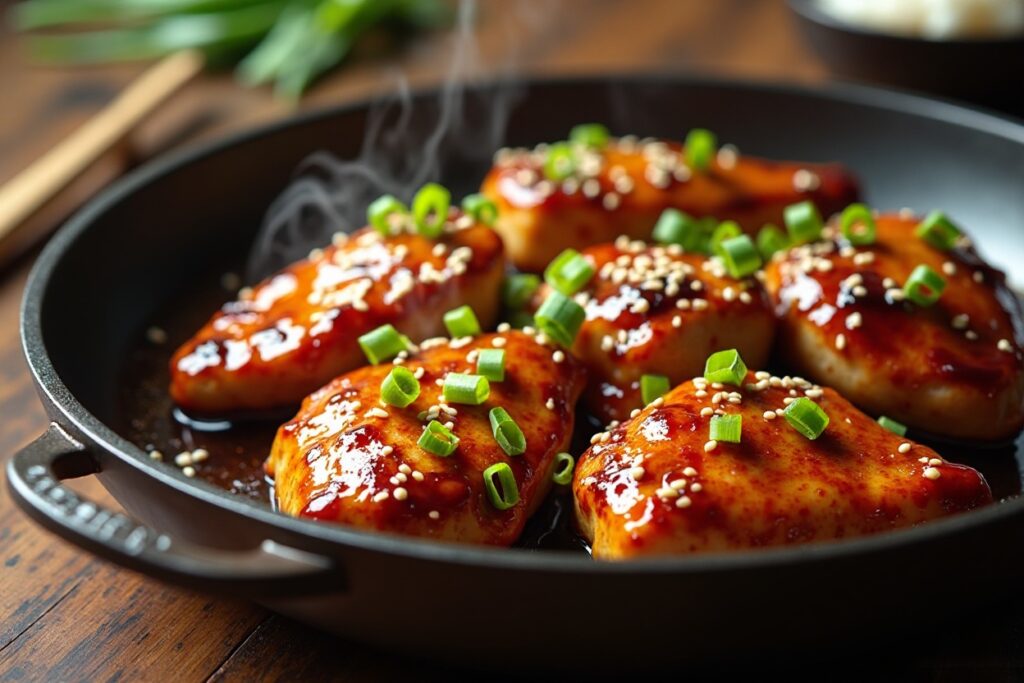
If you’re craving something juicy, sticky, savory-sweet, and ridiculously easy, Teriyaki Chicken Thighs are your new best friend. This dish brings together tender chicken, a glossy homemade teriyaki glaze, and bold umami flavors — all using simple pantry ingredients. It’s quick enough for weeknights but tasty enough to impress guests.
Let’s dive into your step-by-step, beginner-friendly guide!
✅ 1. Introduction: Why This Dish Is a Winner
Teriyaki chicken is one of those recipes that feels restaurant good even though it’s made with ingredients you probably already have. The star is the homemade teriyaki sauce — sweet, salty, garlicky, and sticky in the best possible way.
Why you’ll love it:
- Budget-friendly
- High in protein
- Works with rice, noodles, veggies, or lettuce wraps
- Made with simple tools
- Beginner-proof
✅ 2. Ingredients (With Exact Measurements & Product Links)
Serves: 4 people
🍗 For the Chicken
- 6–8 boneless, skin-on chicken thighs — juicy and perfect for soaking up sauce
- 1 tbsp olive oil for searing
🍶 For the Homemade Teriyaki Sauce
- ½ cup low-sodium soy sauce
- ⅓ cup brown sugar
- 2 tbsp honey
- 2 tbsp apple cider vinegar or rice vinegar
- 1 tsp sesame oil
- 3 cloves garlic, minced
- 1 inch fresh ginger, grated
- 1 tbsp cornstarch (for thickening)
- ¼ cup water (to mix with cornstarch)
🌿 For Garnish
- Sesame seeds
- Fresh green onions, finely chopped
✅ 3. Essential Kitchen Tools & Appliances
Click each link below to check the best-rated options on Amazon 👇
- Nonstick skillet or pan — for perfectly seared chicken
- Mixing bowls — ideal for whisking sauces
- Whisk — to blend your teriyaki sauce smoothly
- Cutting board — a sturdy board for prepping your chicken and veggies
- Chef’s knife — for precise slicing and trimming
- Garlic press — for quick garlic prep
- Tongs — to flip chicken safely and evenly
- Measuring cups & measuring spoons — for perfect ingredient accuracy
- Spatula — to mix and coat the chicken evenly
- Large spoon — for stirring the sauce while simmering
- Serving bowl — to plate your finished teriyaki chicken beautifully
- Oven mitts — for safety if you use an oven or skillet finish
✅ 4. Preparation Steps (Barney-Style Simple)
- Trim the chicken thighs
Remove extra fat if needed. - Pat dry
This helps the chicken brown better. - Season lightly
Just a pinch of salt and pepper — the sauce has plenty of flavor. - Make your teriyaki sauce
- In a mixing bowl, whisk together soy sauce, brown sugar, honey, rice vinegar, sesame oil, garlic, and ginger.
- Prepare the cornstarch slurry
Mix 1 tbsp cornstarch with 1/4 cup water and set aside.
✅ 5. Cooking Instructions (Perfect Every Time)
Step 1: Sear the Chicken
- Heat 1 tbsp oil in your skillet over medium-high heat.
- Add chicken thighs.
- Cook 5–6 minutes per side until golden brown.
Step 2: Add the Teriyaki Sauce
- Pour in the sauce mixture.
- Lower heat to medium.
- Simmer for 5 minutes.
Step 3: Thicken It
- Stir in the cornstarch slurry.
- Let simmer another 3–4 minutes until glossy and thick.
Step 4: Coat Well
- Flip chicken in the pan so it gets fully glazed.
✅ Secret Tips
- Add 1 tbsp butter at the end → ultra glossy finish.
- Do NOT boil too hard — it burns the sugar.
- Let the sauce stick naturally by simmering on low.
✅ 6. Serving Suggestions
Serve your teriyaki chicken with:
- Steamed jasmine rice
- Stir-fried veggies
- Garlic noodles
- Cucumber salad for freshness
- Lettuce wraps for a low-carb version
Garnish with:
- Sesame seeds
- Chopped spring onions
- A drizzle of extra sauce from the pan
✅ 7. Additional Tips & Variations
Make it Healthier
- Use low-sodium soy sauce
- Skip the sugar and add more honey
- Serve with brown rice
Flavor Boosters
- Add chili flakes for a spicy kick
- Add pineapple chunks for Hawaiian-style teriyaki
- Add a teaspoon of mirin for more depth
Dietary Adaptations
- Gluten-free: Use tamari instead of soy sauce
- Keto: Replace sugar with erythritol
- Low-sodium: Use reduced-salt soy sauce + extra water
✅ 8. Nutrition Details (Per Serving)
| Nutrient | Amount |
|---|---|
| Calories | ~390 kcal |
| Protein | 35g |
| Carbs | 28g |
| Fat | 15g |
| Saturated Fat | 4g |
| Sugar | 22g |
| Sodium | 680mg |
| Fiber | 0g |
✅ 9. FAQ Section
1. Can I use chicken breast instead of thighs?
Yes! Keep in mind breasts cook faster — reduce cook time to 4–5 minutes per side.
2. How do I store leftovers?
Store in an airtight container for 3–4 days. Reheat gently so the sauce doesn’t burn.
3. Can I freeze it?
Yes — freeze cooked chicken with sauce for up to 2 months. Thaw overnight in the fridge.
4. How do I make it spicy?
Add sriracha, chili paste, or red pepper flakes to the sauce.
5. Can I bake it instead?
Yes — bake at 400°F (200°C) for 20–22 minutes, then add sauce and broil 2 minutes.
✅ 10. Wrap-Up (Final Thoughts)
Teriyaki Chicken Thighs are the perfect mix of sweet, savory, sticky, and juicy, and they require almost zero culinary skills — just simple ingredients and a few easy steps. It’s one of those meals that never fails, whether it’s a busy Tuesday night or a family dinner.
Fun fact: “Teriyaki” comes from the Japanese words teri (shine) and yaki (grill) — referring to the beautiful glossy coating on the chicken. And now you’ve mastered that shine too!
If you try this recipe, you’ll probably end up making it again… and again.
Want more recipes like this? I’m always here to help you cook up something delicious!